By Dave Miller · off-grid sparky · 22 years wiring solar, batteries and sheds in central QLD
“After blowing a $400 battery in week one from a faulty isolator, I learned never to trust a direct alternator connection without a proper DC-DC charger.”
By Dave Miller · off-grid sparky · 22 years wiring solar, batteries and sheds in central QLD
“After blowing a $400 battery in week one from a faulty isolator, I learned never to trust a direct alternator connection without a proper DC-DC charger.”
Forget the fancy stuff. If you're running a van, ute, or off-grid setup in Australia, your alternator isn't just for the car battery. It's your main power source. But do it wrong and you'll fry your house batteries. Here's how to do it right.
Wiring a house battery directly to a vehicle's alternator is one of the fastest ways to cook a lithium bank or chronically undercharge an AGM. A DC-DC charger sits between the starter battery and the house battery, takes whatever unstable voltage the alternator is throwing at it, and delivers a proper multi-stage charge profile matched to your battery chemistry. This guide covers the wiring, sizing, and safety considerations for a 12V dual-battery setup typical of Aussie touring rigs.
A DC-to-DC charger (also called a battery-to-battery or B2B charger) sits between the starter battery and the leisure (house) battery. Its job is to accept the unstable input from the alternator — anywhere from around 11.5V to 15.5V depending on alternator state — and convert it to a precise, regulated output voltage suitable for the house battery chemistry.
Critically, when the alternator is not providing charge current, the DC-DC charger separates the leisure battery from the starter battery to prevent the starter battery from draining. This isolation is what makes a modern dual-battery system reliable.
DC-DC chargers adjust their charge voltage based on the type of battery (Lithium, AGM, GEL) being charged, and they run a multi-stage charging profile (bulk, absorption, and float) similar to a quality mains charger. The result is better battery performance and lifespan compared to older voltage-sensitive relay (VSR) setups.
Older split-charge setups use a voltage-sensitive relay that closes when the starter battery is being charged and opens when the engine stops. With a fixed-output alternator this works adequately.
Smart alternators became standard in vehicles around 2014 with Euro 6 emissions regulations to improve fuel economy. These alternators vary their output significantly, from around 12.0-12.8V under acceleration or idle up to 14.8-15.0V during cruise or regenerative braking. Modern vehicles run alternators at 12.0-12.5V for extended periods to eke out extra efficiency, which is making VSR-based charging essentially useless because the relay never sees enough voltage to close.
A smart alternator can vary its output significantly, and a VSR cannot tell the difference between "alternator is at idle because the ECU is saving fuel" and "alternator is broken." A DC-DC charger actively regulates voltage and current to deliver a proper multi-stage charge profile regardless of what the alternator is doing.
Sizing a DC-DC charger comes down to three numbers: alternator and starter battery voltage (V), alternator output current (A), and leisure battery maximum charge current. The charger should typically be sized for 20-40% of battery bank capacity.
Practical example: a 200Ah lithium house bank can accept up to 100A of charge current, but the limiting factor is usually what the alternator can spare. A 25-40A DC-DC charger (500W-1000W range) is a common fit for a mid-sized touring rig. Going bigger doesn't help if your alternator can't deliver the current, and going smaller means long charge times.
There are two primary types: portable (no fixed installation required) and fixed (permanently installed in the vehicle). For a permanent dual-battery install, fixed is the standard.
Within fixed chargers there is a further distinction: non-isolated DC-DC chargers use the chassis as a common ground or negative; isolated models are typically used on boats where the hull cannot serve as a common ground. For a vehicle or caravan, non-isolated is standard and cheaper.
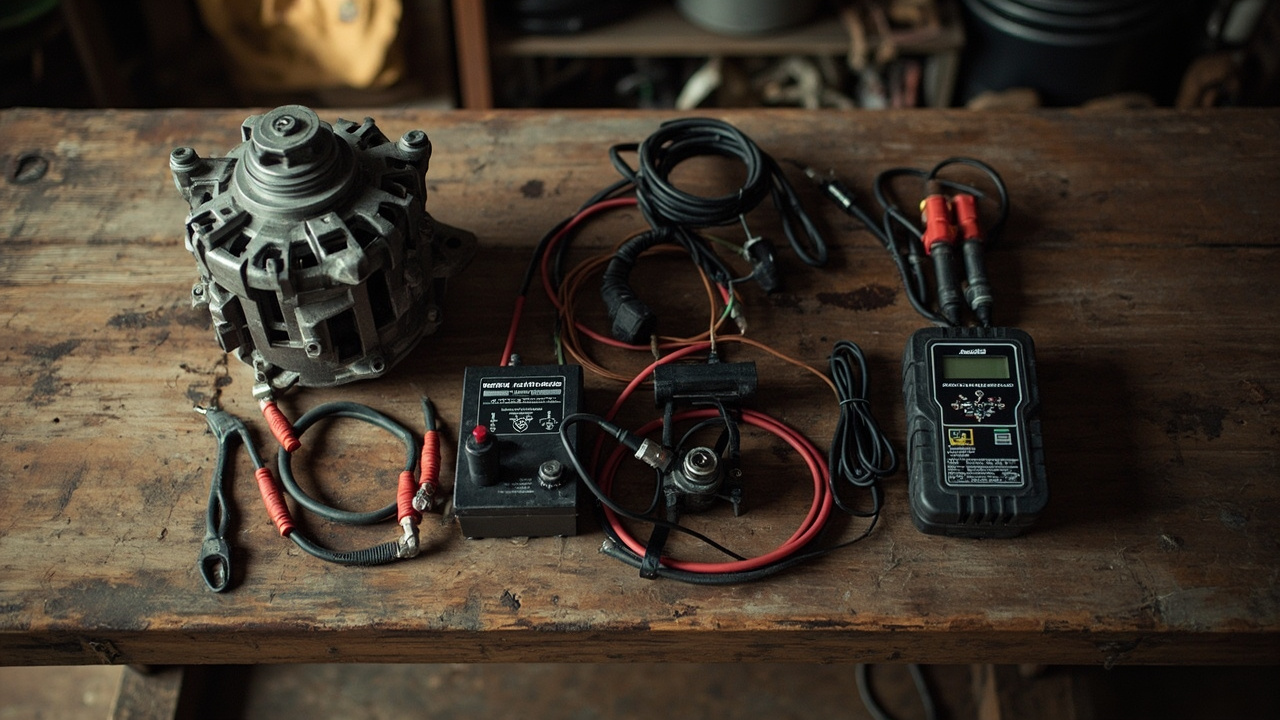
Before starting, gather the following:
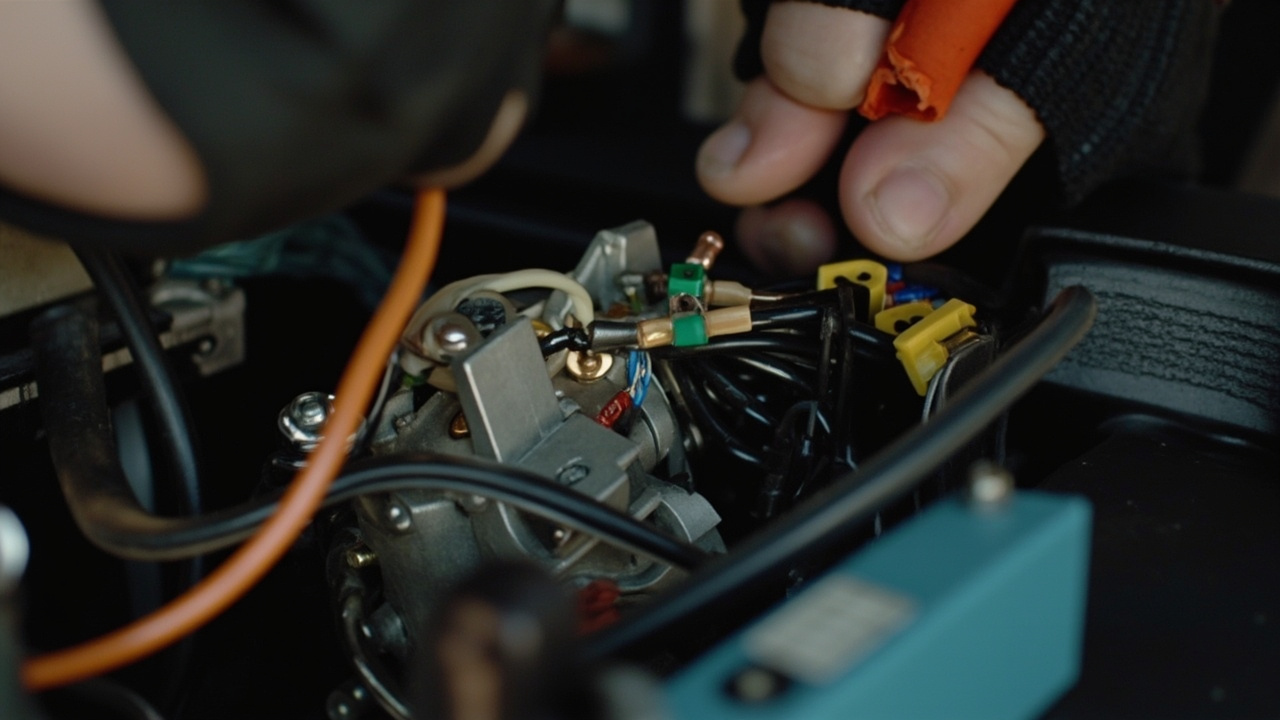
Before installing, disconnect the vehicle's starter battery first to prevent accidental short circuits or shocks. Even a brief contact between a live positive cable and the chassis can weld a spanner to a body panel and wreck electronics.
Choose a location that is:
Standard motorhomes often have relatively thin positive cables (6mm² or less) running from the starter battery to the EBL; it is recommended to run a new thicker cable (at least 10mm², ideally 16mm²) to the DC-DC charger. Undersized cable here is the single most common cause of voltage drop, slow charging, and melted insulation.
For high-current DC runs, 4AWG (25mm²) or larger cable is appropriate for longer runs and chargers above 30A. Use a fuse or circuit breaker at the starter battery end of this cable — rated to protect the cable, not the device.
The D+ wire tells the charger the alternator is running and it's safe to draw current. If your charger supports voltage-sensing relay (VSR) mode, it can also be activated when it detects a voltage indicating the engine is running, as opposed to being activated by D+. Either method works; D+ is more reliable on smart alternators.
Run cable from the charger output to the house battery. Fuses should be installed on both the input and output sides of the DC-DC charger to prevent electrical faults. Place the fuse within 200mm of the battery terminal.
Non-isolated chargers use the chassis as a common ground. Connect the negative cable from the starter battery's ground point to the charger's negative input, and from the charger's negative output to the house battery's negative terminal (or to a common bus bar).
Reconnect the starter battery, start the engine, and check:
Wiring a dual-battery system involves sustained high-current DC circuits that can cause fires, burns, and damage to vehicle electronics if installed incorrectly.
Call a licensed auto electrician if:
A licensed professional ensures the install meets Australian standards (AS/NZS 3001 for caravans, AS/NZS 3000 for fixed installations) and doesn't void your vehicle warranty.
Do I need a DC-DC charger if I have a solar MPPT?
Yes, for alternator charging. The MPPT handles solar input only; the DC-DC charger handles alternator input. They serve different sources and can both feed the same house battery.
Can I use a DC-DC charger with a lithium battery?
Yes. Most modern chargers have a lithium charge profile that delivers the correct voltage and absorption time for LiFePO4 chemistry. Set the charger's battery type to lithium before connecting.
How long does it take to charge a 200Ah house battery from a 30A DC-DC charger?
Roughly 7-8 hours of driving to go from 20% to 100% state of charge, assuming the alternator can sustain 30A output and the charger isn't derating due to heat. Real-world driving with stops, idles, and smart-alternator dips usually means longer.
What's the difference between isolated and non-isolated?
Non-isolated chargers use the chassis as a common ground and are standard for vehicles. Isolated chargers have separate input and output grounds and are typically used on boats where the hull cannot serve as a common ground.
Do I need to run a D+ wire?
Not always. Some chargers use VSR-style voltage sensing instead, activated when it detects a voltage indicating the engine is running, as opposed to being activated by D+. D+ is more reliable on smart alternators; check your charger's manual.
Can I install the charger near the house battery instead of near the starter battery?
Yes — in fact it's often better, because the regulated output side runs at lower current than the input side on some configurations. The trade-off is a longer input cable run and more voltage drop on the input side. Use the larger cable on whichever run is longer.
Worth a watch: Charging Lithium Batteries With Alternator - Howto Guide · Cleversolarpower by Nick