A pedal-powered generator is one of the most over-promised and under-engineered bits of kit in the off-grid world. Done well, it's a useful supplementary charger, an emergency backup, and a surprisingly honest workout. Done badly, it's a fire hazard with a chain on it. This guide covers the realistic design, the realistic output, and the realistic limits, all in metric and AU-mains terms.

By Dave Miller · off-grid sparky · 22 years wiring solar, batteries and sheds in central QLD
“After two years of wrestling with cheap bike generators, I finally wired a 200Ah battery bank and never pedalled again.”
Off-Grid Bicycle Generator System Design Guide
What a bike generator actually is
A bicycle generator is a stationary bike (regular bike on a trainer stand, or a purpose-built exercise bike) mechanically coupled to a generator. The generator's output is rectified, conditioned, and either fed directly to a DC load, stored in a battery, or inverted to 230V/50Hz AC through an inverter.
A well-known published example is the Low-tech Magazine pedal power plant, built around a 1950s BH exercise bicycle fitted with a handlebar-mounted dashboard for powering and charging a range of devices simultaneously.
The core parts list for any basic build is: a stationary or exercise bicycle, a belt or chain drive (belt and pulley, or chainring and freewheel), a generator, a diode, a fuse, a battery, an inverter, and a load. One documented DIY build used a bicycle trainer stand, a treadmill DC motor used in reverse as a generator, a solar charge controller, a power inverter, a 12V battery, battery clamps, and 12-gauge stranded wire.
Realistic power output
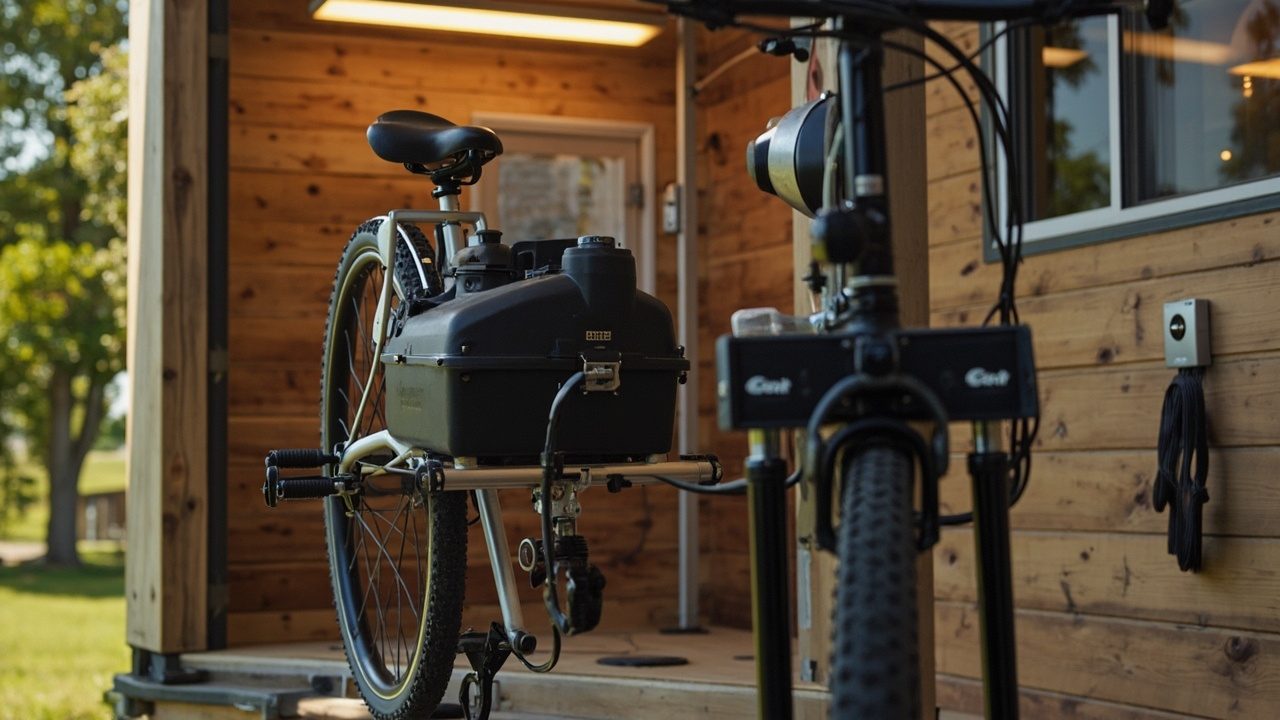
A fit adult can sustain roughly 100–150W of mechanical power at the cranks for extended periods. Elite athletes can push higher peaks, but a sustainable figure for an everyday builder is in that 100–150W window. Because the generator, drive train, and inverter each have losses, the electricity actually delivered to a battery or appliance is less than what you put in at the pedals. A common ceiling for a careful build is around 100W of electrical output, and the typical human-power claim from most reference builds sits around 100W continuous into a battery.
That's enough to slowly charge a 12V battery bank, run LED lighting, charge phones and laptops, and keep a small radio or communications gear topped up. It is not enough to run a kettle, a fridge compressor for long, an induction cooktop, an air-conditioner, or any resistive heater. Treat pedal power as a complement to solar or wind, or as a way to run small devices, rather than as a primary source.
Core components and what they do
The bicycle and stand
The back wheel must be elevated so it can spin freely. With a standard bike, this is done with a bicycle trainer stand, and the front wheel is removed or braced. The frame must be solidly stabilised; a bike that tips mid-pedal is a known hazard, and tip stability is a key design constraint when adapting a standard bicycle. Exercise bikes with built-in flywheels solve most of this, which is why most reference builds start there.
Flywheel and gearing
A flywheel resists changes in rotational speed and smooths the uneven torque that human legs naturally produce. Most exercise bikes already include a flywheel, which is one reason they make good bases. For a typical exercise-bike-based build, an effective gearing uses a 52-tooth chainring on the bike connected by chain to a 16-tooth freewheel on the flywheel. The exact ratio depends on your generator's rated RPM; the goal is to keep the generator in its efficient RPM band at a comfortable cadence.
Generator
The cheapest and most common option is a Permanent Magnet DC motor run in reverse as a generator, such as a motor salvaged from an old treadmill. Brushless DC (BLDC) hub motors from e-bikes are another popular choice. The generator needs to be rated for the RPM you'll drive it at. Most treadmill motors are wound for high-RPM operation and benefit from a moderate step-up ratio.
Rectification, protection, and storage
The generator output is DC. To charge a 12V battery safely, you need:
- A diode to block reverse current from the battery back into the generator when you stop pedalling.
- A fuse sized to the wiring to protect against overcurrent.
- A charge controller between the generator and the battery to regulate voltage and current and prevent overcharging. A solar charge controller can serve in this role in documented builds.
Inverter
To run 230V/50Hz mains appliances, the battery feeds a power inverter. Size the inverter for the continuous draw of the largest load you realistically intend to power from the bike, not for the generator's output, because the battery can briefly deliver more than the pedals can sustain.
Design specs and requirements
| Item | Specification / requirement |
|---|---|
| Human input (continuous) | ~100–150W mechanical at the cranks (fit adult) |
| Typical electrical output | up to ~100W continuous into battery |
| Generator type | Permanent Magnet DC motor (e.g., salvaged treadmill motor) run as generator; or BLDC hub motor |
| Drive | Belt and pulley, or chain (e.g., 52T chainring to 16T freewheel on flywheel) |
| Bike mount | Stationary/exercise bike with flywheel, or standard bike on trainer stand with rear wheel elevated and front wheel removed/braced |
| Energy storage | 12V battery (or LiFePO4) |
| Protection | Diode (reverse current) and fuse (overcurrent) |
| Battery management | Charge controller between generator and battery |
| AC output | 230V/50Hz inverter, sized to the load |
| Wiring | 12-gauge stranded wire for typical low-current builds |
| Suitable loads | LED lights, phone/laptop charging, small DC devices, radio/communications gear |
| Unsuitable loads | Kettles, heaters, induction cooktops, fridge compressors (continuous), any high-draw appliance |
Design choices and trade-offs
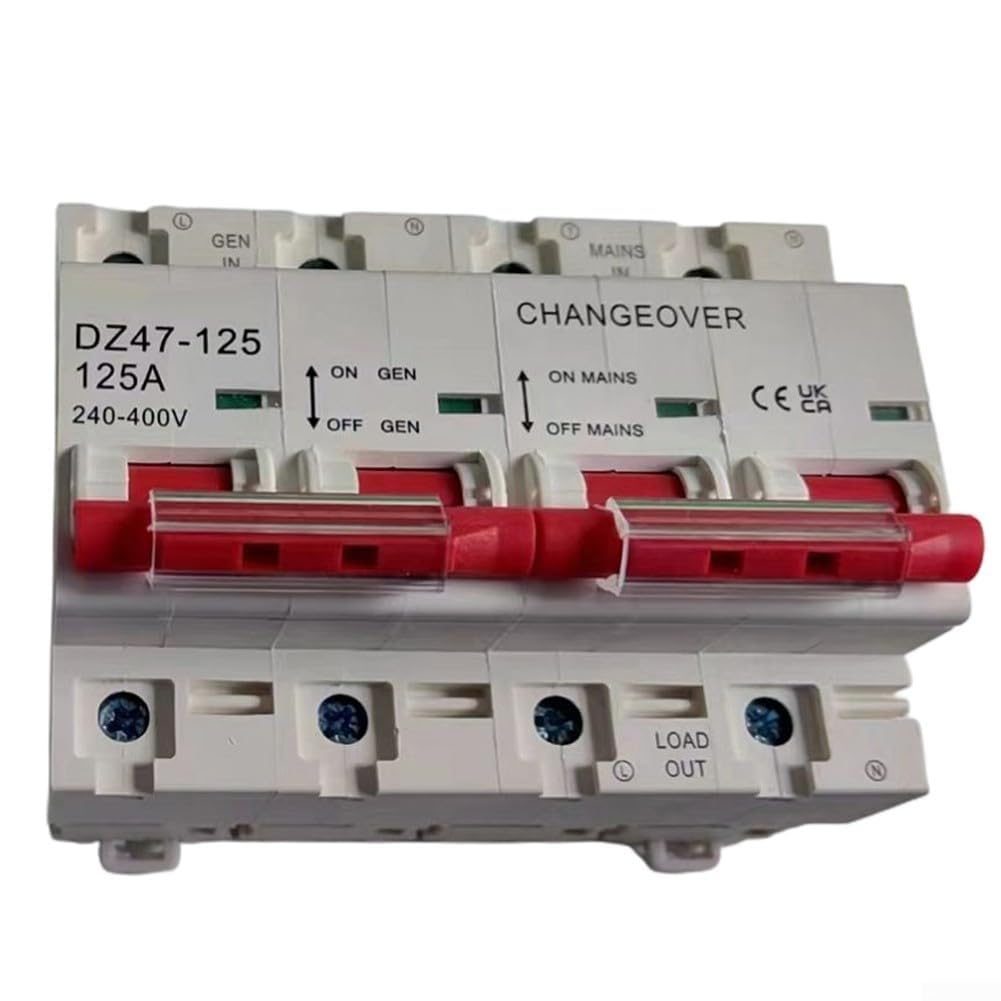
Exercise bike vs. standard bike on a trainer. Exercise bikes with built-in flywheels give smoother output and a more stable frame. Standard bikes on trainer stands are cheaper to source and let you use the donor bike's gearing, but you inherit the stability problem and need to brace the frame and remove or brace the front wheel.
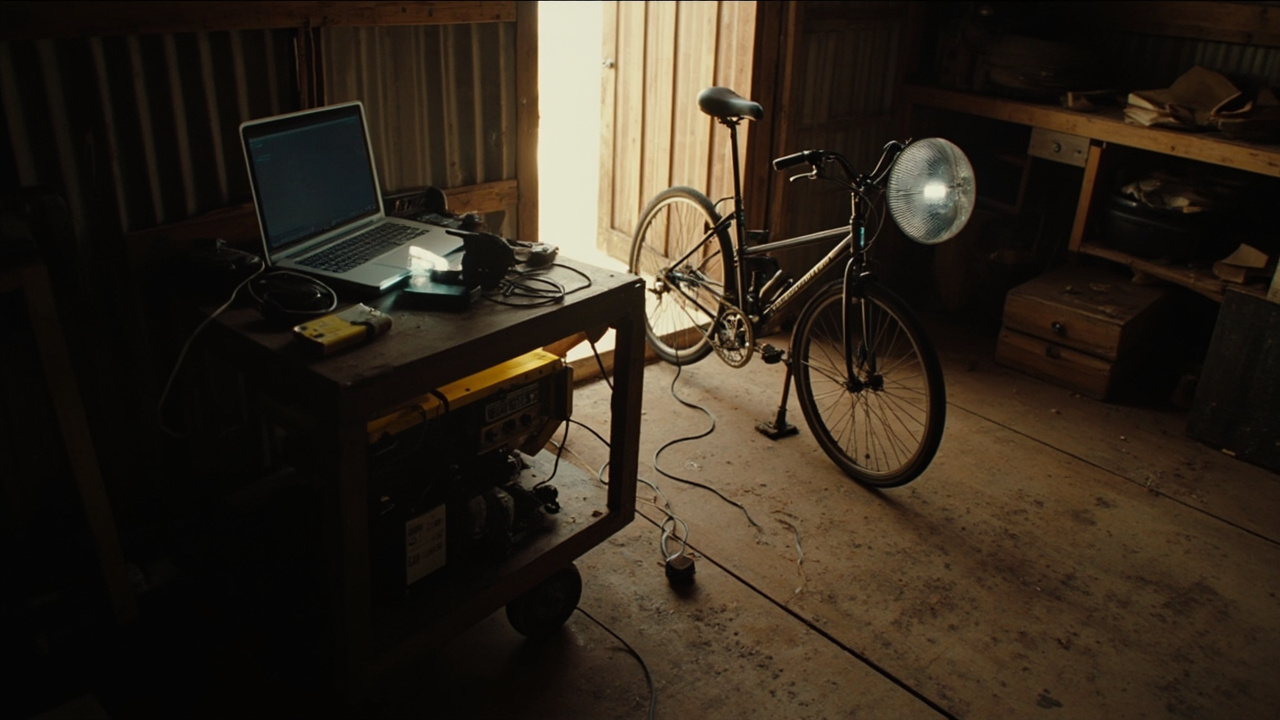
Belt vs. chain. A belt and pulley drive is quiet, needs no lubrication, and slips rather than breaks under a stall, which is a soft form of overload protection. A chain drive is more efficient, handles higher loads, and is easier to source in standard bicycle parts. The Low-tech Magazine and many documented builds use chain drives.
Dedicated generator vs. treadmill motor. A purpose-built low-RPM DC generator runs efficiently at pedalling speeds, but costs more. A treadmill motor is cheap and widely available, but is wound for high RPM, so you need a step-up ratio (e.g., a small chainring driving a larger sprocket on the motor) to bring it into its efficient band.
Direct DC load vs. battery + inverter. Direct DC loads (charging a phone, running LEDs from a DC-DC converter) avoid inverter losses. Going through a battery and inverter is what you need for any 230V appliance, and the battery also acts as a buffer so brief pauses in pedalling don't drop the load.
Build process (high level)
1. Mount the bike so the rear wheel spins freely and the frame is solid. Use an exercise bike base, or a standard bike clamped into a trainer stand with the front wheel removed or braced.
2. Couple the rear wheel (or flywheel) to the generator via belt or chain. On exercise bikes with flywheels, a 52-tooth chainring driving a 16-tooth freewheel is a documented effective ratio.
3. Wire the generator output through a fuse and a diode into a charge controller, then to a 12V battery.
4. Connect a power inverter to the battery for 230V/50Hz AC loads.
5. Add a handlebar-mounted dashboard if you want to switch between loads and monitor output, as used in the Low-tech Magazine build.
6. Verify wiring gauge (12-gauge stranded is typical for these low-current builds), fusing, and polarity before first use.
Safety
A bicycle generator combines a spinning chain or belt, exposed conductors, and a battery that can deliver very high short-circuit currents. Treat it with the same respect you'd give any wiring job.
- Brace the bike so it cannot tip. Tip-over with a spinning wheel is a known hazard when adapting standard bicycles.
- Always include a fuse in the DC line and a diode to prevent backfeed from the battery into the generator.
- Size the wiring to the current, and use appropriately rated connectors. 12-gauge stranded wire is appropriate for the typical current levels in these builds.
- Never bypass the charge controller; an unregulated source will cook a 12V battery.
- The inverter output is 230V/50Hz mains voltage and is just as lethal as grid power. Treat the AC side with full mains precautions.
When to call a licensed professional
- Any permanent 230V AC wiring into a dwelling, shed, or switchboard must be done by a licensed electrician under Australian rules. A plug-in inverter powering a double-adapter on a bench is one thing; hardwiring into your house wiring is another.
- If you are connecting the system to an existing off-grid inverter/charger setup (e.g., adding a charge source to a multi-source solar/battery system), get the system designer or a licensed installer to confirm compatibility and protection settings.
- If the battery bank is large enough to qualify as a serious energy storage system (typically 5kWh or more of Li-ion, or large lead-acid banks), Australian standards (AS/NZS 5139 and related) apply. Get a licensed professional.
- If you are unsure about any mains-side connection, earthing, or RCD protection, call a licensed electrician.
FAQ
Can a bike generator power a whole house?
No. Sustainable human output is around 100–150W mechanical, with electrical output typically capped near 100W. A typical Australian household averages well over 1kW of continuous draw. Treat the bike as a supplement, an emergency charger, or a way to run small devices.
Do I need a charge controller?
Yes. A charge controller sits between the generator and the battery and prevents overcharging. Documented builds use a solar charge controller in this role.
Is a treadmill motor a real option?
Yes. Permanent magnet DC motors from old treadmills, run as generators, are a common and cheap choice for DIY builds. They are wound for high RPM, so the drive ratio must step the pedalling cadence up into the motor's efficient band.
Why include a flywheel?
A flywheel smooths out the uneven torque from pedalling, so the generator sees a steadier RPM and the output is less peaky. Most exercise bikes already include one.
What can I realistically run?
LED lights, phone and laptop charging, a small radio, DC fans, and similar low-draw loads. Not kettles, heaters, fridges continuously, induction cooking, or air-conditioning.
How long does it take to charge a 12V battery?
Roughly: a 50Ah 12V battery stores about 600Wh. At ~100W of generator input minus losses, expect many hours of pedalling for a full charge from flat. A bike generator is a slow charger.
Sources
- https://solar.lowtechmagazine.com/2022/03/how-to-build-a-practical-household-bike-generator/
- https://www.appropedia.org/Bicycle_generator:_The_ultimate_DIY_guide_(With_examples!)
- https://waterlution.org/pedal-power-building-a-bicycle-powered-generator/
Worth a watch: Using a car alternator with a bike to power my home? How much energy can I produce?! · GreatScott!
Frequently asked questions
Can a bike generator actually power my house off the grid?
Honestly, not on its own. A pair of legs will run a laptop, a few LED lights, a fan or a Wi-Fi router, but it won't touch a fridge, kettle or anything with a heating element. That's why I ended up wiring a battery bank and stopped pedalling.
What gear do I need to build a bicycle generator setup?
A bike or stand, an alternator, a solid mounting frame, a charge controller and a battery to soak up the watts. The shed build I did in Emerald taught me the mechanical side matters as much as the wiring — a wobbly mount chews through belts and bearings fast.
Do I need an electrician to wire up a bike generator?
Yeah, I always recommend it. Anything that ties into your house wiring, battery bank or inverter should be done by a licensed sparky, especially if you plan to add solar or grid-connect later. The few dollars you save doing it yourself aren't worth a house fire or a voided insurance policy.
Are cheap bike generators worth the money?
Not in my experience. I wasted years on budget setups before I gave up pedalling. The components wear out quick and you end up spending more replacing parts than you saved buying cheap.