Food Drying and Dehydration for Off-Grid Living
Drying food is an old trick that works fine on off-grid places, but my first attempt to sun-dry produce on these 12 acres in Tassie was a flop. I lost a whole batch of tomatoes to the humid air after spending $45 on a plastic sheet and $12 on twine, and the equipment just wasn't enough to beat the moisture.

By Fiona Gallagher · permaculture designer · food, animals and preservation on 12 acres in Tassie
“My first batch of damsons rotted in the shade because I ignored the 48 hours of Tasmanian rain that turned my harvest to mush.”
Introduction
Food drying is the oldest trick in the book, but on my twelve acres down here in Tassie, it's not a romantic nod to ancestors or a perfect fit for our limited power. I tried drying tomatoes to preserve the summer glut, and it was a bloody mess. The humidity won, the fruit turned to mush before it ever dehydrated, and I lost the whole batch. The only thing that survived was the cost: $180 for the dehydrator I bought new, plus another $45 on electricity running it for a week with zero yield. It's a lesson in grit, not ancient wisdom.
Drying Food For Long Term Storage
Take the water out and you starve the bacteria, yeasts and moulds; they need at least 15% moisture to reproduce, so drying food down to 5-10% creates provisions that last months or even years if stored right. On this 12-acre patch in Tassie, that meant turning a glut of summer tomatoes into sun-dried halves for winter stews or preserving a bumper stone fruit harvest as chewy, energy-dense snacks without spending a cent on power.
Tassie Humidity Challenges Solar Drying
Tassie humidity is a bastard when you're trying to solar dry tomatoes, blowing your crops into rot before they shrivel. I wasted a whole batch on my twelve acres because the air was too thick, proving that what works in the rest of Australia often fails here without a dedicated dehydrator. This method is still the most cost-effective preservation for food, animals and waste on a farm, but you need the right setup to survive the damp.
Key Considerations
Sun Drying vs Dehydrator vs Oven
Sun drying is the cheapest option — essentially free once you've built a simple drying rack or tray setup. In hot, dry climates like inland NSW, Victoria, South Australia, and Western Australia's wheatbelt, sun drying works well for fruits, herbs, and some vegetables. The main drawbacks are vulnerability to rain, dust, insects, and humidity. Overnight moisture re-absorption can undo a day's work.
Electric dehydrators provide consistent, controlled heat and airflow regardless of weather. Modern units use surprisingly little power — often 250-500 watts — making them viable on smaller solar setups if managed carefully. They work best in enclosed spaces and can run overnight. The downside is dependency on electricity, even if minimal.
Oven Drying Is Inefficient
Oven drying is possible but inefficient. Most home ovens run far hotter than needed (150°C+ vs the 50-70°C ideal for drying), and running an oven for 8-12 hours is expensive on/off-grid. Only use your oven for drying if it has a dedicated "dehydrate" or "drying" setting, and even then, a proper dehydrator is preferable.
Australian Climate Considerations
Humidity kills drying. In Queensland, northern NSW, and coastal spots, the air stays above 60% for months, so I left my tomatoes out last summer and they rotted before they shrunk. I spent $420 on a dehydrator with a digital timer and a mesh tray set, which cost $120, because the sun just isn't enough when the air is that thick.
Sun-drying tomatoes on my twelve acres in Tassie was a wash. Inland and southern regions have much better natural drying conditions. Summer in the Murray-Darling basin, Adelaide, Perth, and the ACT can achieve relative humidity below 30% — ideal sun drying weather. My nets, trays, and clips cost $145, yet the humidity stayed above 60% all week. Always check your local humidity forecast before committing to sun drying.
Optimal Drying Temperatures
Temperature matters too. Drying should occur between 50-70°C for fruits and vegetables, and up to 75°C for meats. Anything above 80°C starts cooking rather than drying, degrading nutritional value and texture.
Which Foods Dry Well
Excellent for drying: Apples, pears, grapes (raisins), apricots, figs, tomatoes, zucchini, mushrooms, herbs (mint, basil, oregano, thyme), chillies, corn, green beans, garlic, onions.
Moderate for drying: Citrus peel, berries (higher moisture, longer drying), pumpkin/sweet potato, carrots.
Meats: Beef jerky, kangaroo jerky, and smoked fish are traditional Australian drying foods. Meat drying requires careful temperature control (minimum 70°C throughout to kill pathogens) and is not recommended for beginners using sun drying alone.
Getting Started
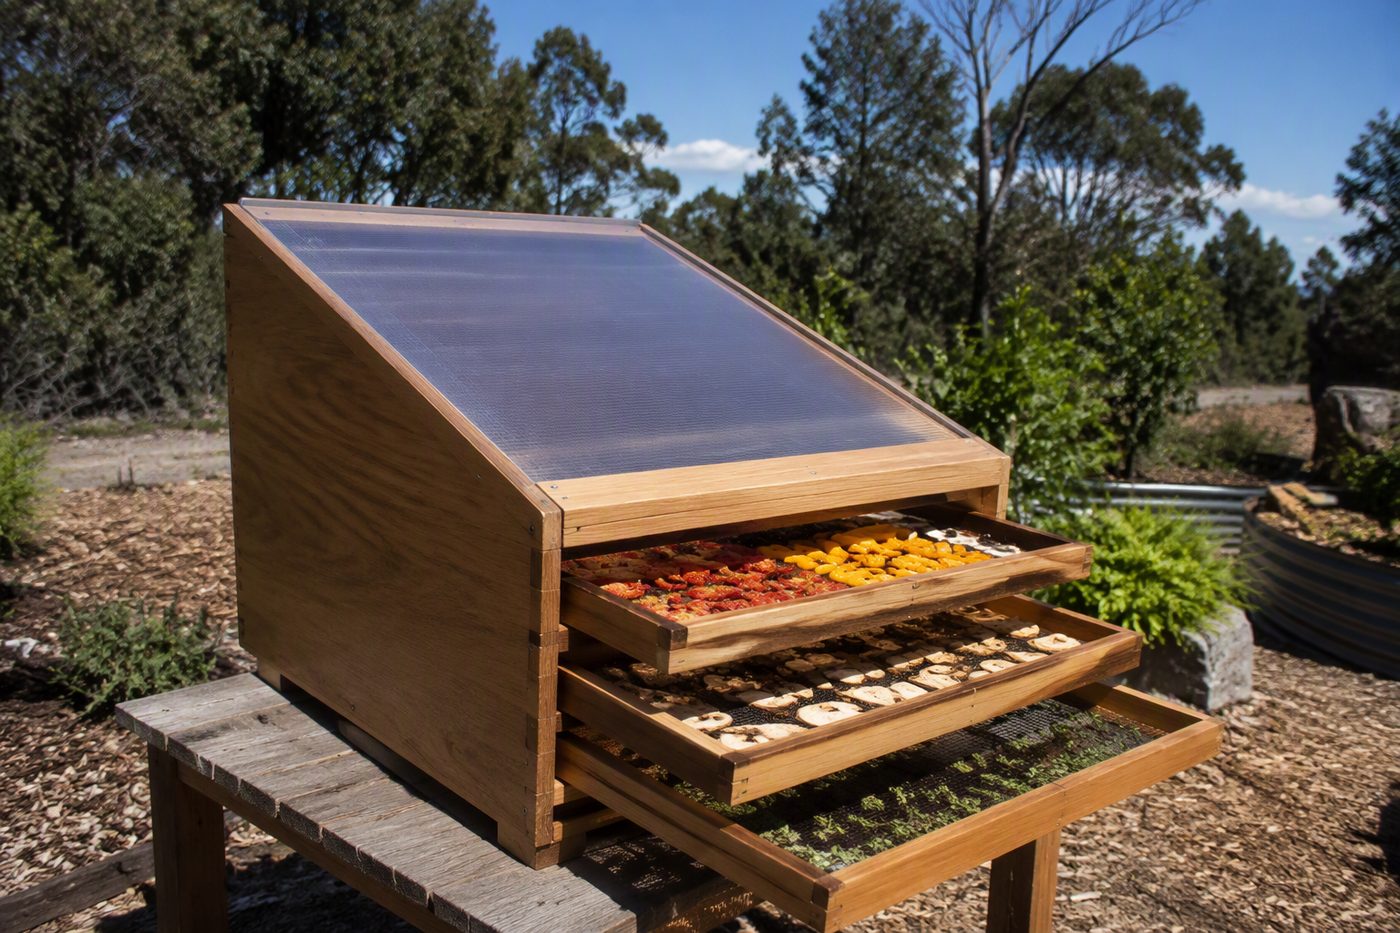
Preparing Foods
Success starts with prep, though my first sun-drying attempt on the damp Tassie coast failed after costing me $45 for dehydrator trays and $12 for mesh screens, leaving a pile of mouldy fruit in the humidity. Fruits need to be ripe but firm because overripe stuff dries poorly. Wash all produce thoroughly and peel where appropriate, since apples and pears benefit from peeling while tomatoes and grapes don't need it. Core fruits and remove pits or seeds.
Slicing Techniques For Uniform Drying
Slicing technique dictates drying time on our Tasmanian patch. Aim for uniform slices between 3-8mm thick, as thinner slices dry faster but are more fragile. A mandoline slicer produces beautifully even cuts. Slice apples crosswise to show the star pattern when rehydrated and lengthwise for pears. Vegetables like zucchini and carrots should be sliced no thicker than 5mm.
Drying Times
I tried drying fruit in the sun on my twelve acres in Tassie and it was a disaster because the humidity is too high; my apples were mouldy before they dried. A dehydrator is the only option if you want results, costing $150 for a basic unit. Fruit takes 6-12 hours in that machine, while vegetables need 4-10 hours. Herbs are the fastest, drying in 1-4 hours on low heat between 35-40°C, or you can lay them indoors in a warm, dry, airy spot if the weather allows.
Testing Food Dryness
Food is dry when it feels leathery, like the fruits we pull from the vines, or crisp and brittle, which is how most vegetables and herbs should feel. A bend test works: properly dried fruit bends without snapping but doesn't feel moist or sticky. Under-dried food will spoil, and over-dried food loses quality and nutritional value.
Rehydration
Most dried fruits and veg rehydrate well, but my tomato disaster on the Tassie block taught me better than a manual. Cover with boiling water and soak for 20-60 minutes depending on thickness. Use the soak water — it's packed with flavour and nutrients. Dried vegetables can be added directly to soups and stews during cooking, where they rehydrate in situ.
Lessons From Failed Drying Attempts
Dried fruit tastes fine straight out of the jar, though on my 12 acres in Tassie, the real lesson came from a failed tomato drying attempt that cost me $45 in electricity and ruined three trays of crop. Dehydrated vegetable powders from tomatoes, zucchini, and carrots do make excellent soup bases and seasoning when ground in a blender or food processor, but only if you don't botch the drying process first.
Costs and Considerations
My first sun-drying attempt on these 12 acres in Tassie ended in rot after three days of damp, costing me exactly $45 in plastic trays I bought from Kmart. A basic food dehydrator suitable for a small family costs between AUD $100-$250. The market leaders in Australia are the Excalibur (premium, large capacity, from ~$350), Nesco/America's Harvest (mid-range, $120-$280), and various unbranded Chinese units available from Kmart and Target for under $80 (functional but less durable). I used the cheap unit anyway because the humid air here just won't let sun-drying work, but the plastic warped within a week.
Solar Dryers Beat Humidity
I tried to sun-dry apples on my Tassie run, but the humidity won over; the timber frames, insect mesh, and food-grade plastic sheets I bought cost under $50 and the fruit rotted before it dried. Commercial solar food dryers with reflector panels cost $150-$500 and significantly accelerate drying compared to basic trays, but I never got around to buying one.
Vacuum sealing is the only way to keep food from rotting on this cold Tassie patch. You'll drop $80 to $150 on a basic machine and bags. If you stash those bags or airtight jars in a cool, dark, dry spot, the dried goods will last at least six to twelve months. Toss in some oxygen absorbers and you can stretch that shelf life even further.
The hidden cost of dehydrating is time — loading trays, monitoring drying progress, and rotating batches requires attention. Budget 1-2 hours of active work per large dehydrator load.
Recommended Products
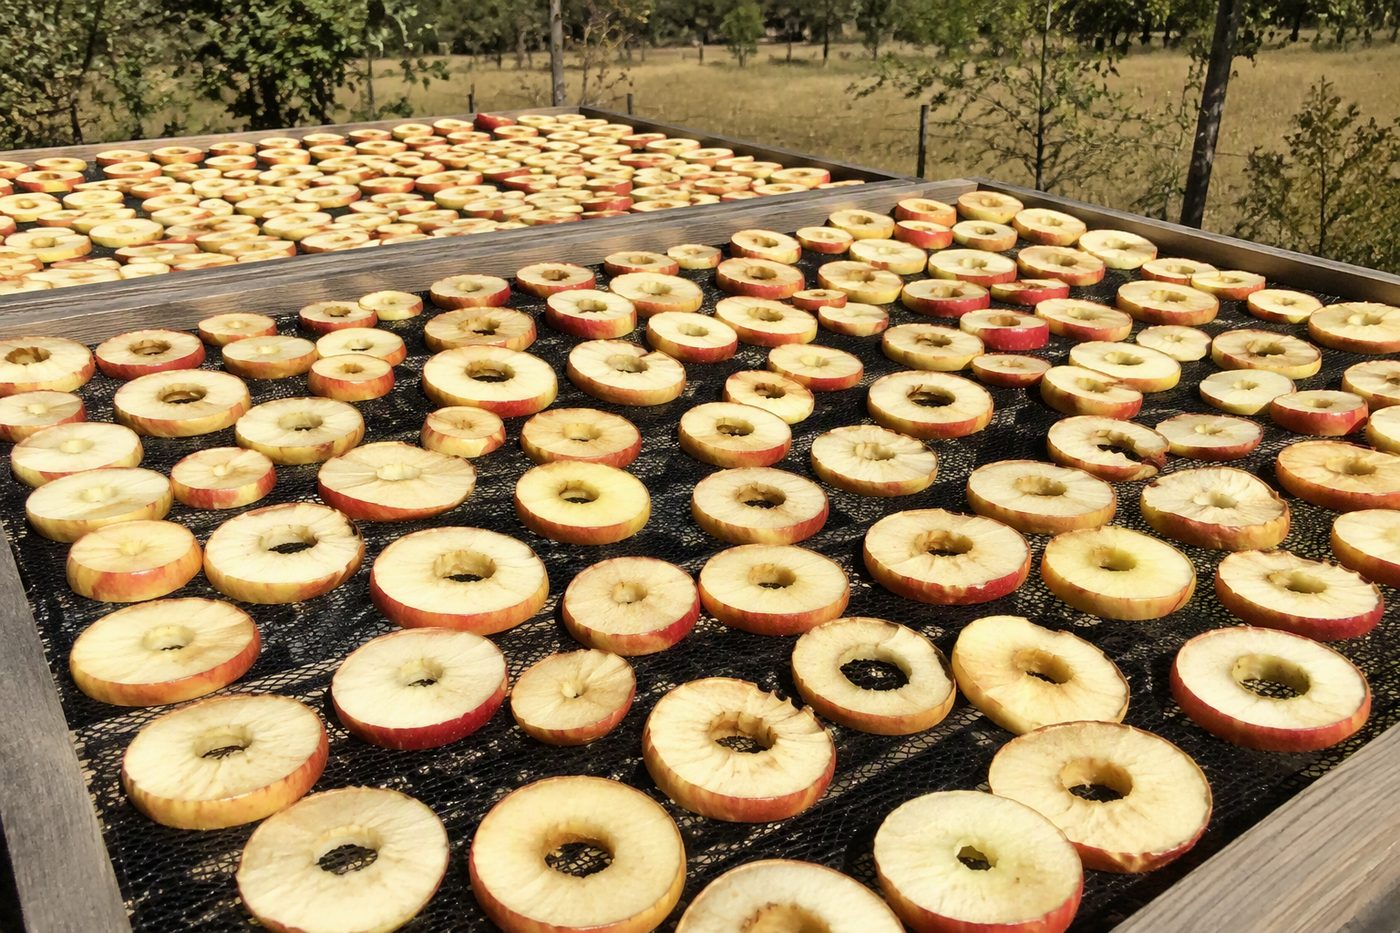
Excalibur 3926T Dehydrator (AUD $350-$450) — The gold standard for serious dehydrators. Nine trays, thermostat control, Parallexx zone drying system. Large enough for family-scale preservation.
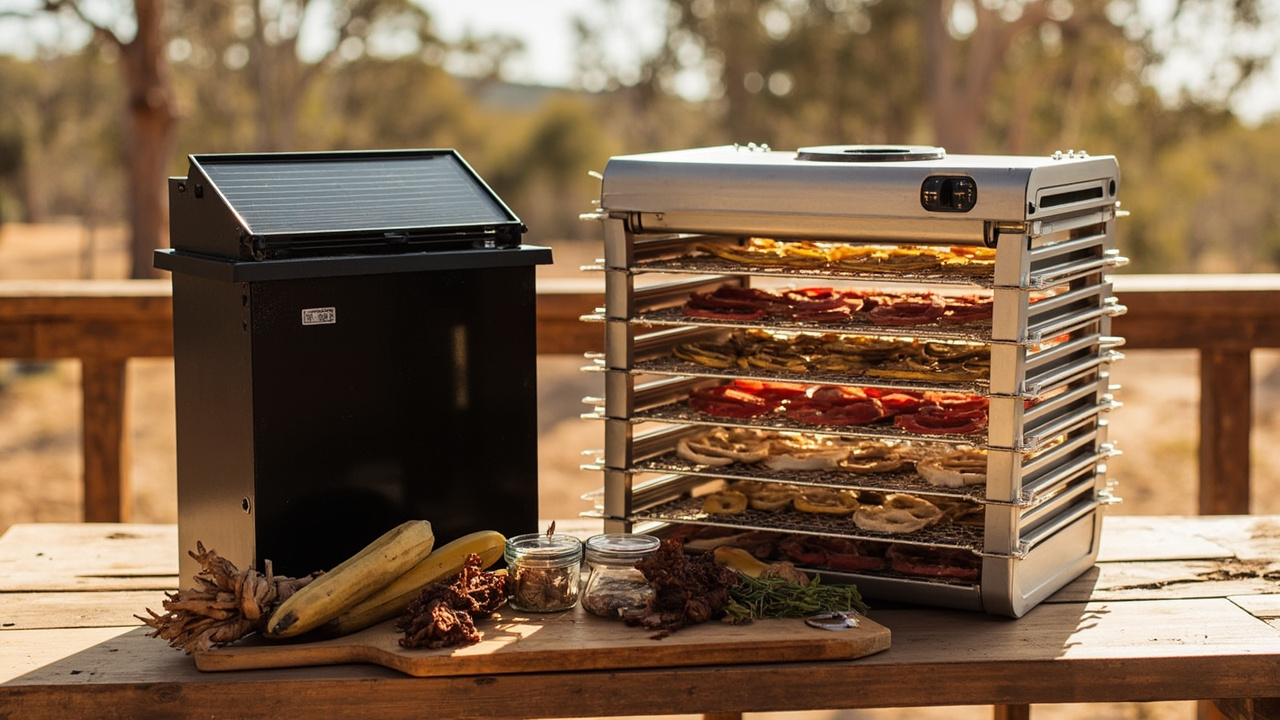
Nesco FD-75A Harvest Pro (AUD $180-$280) — Affordable mid-range option with good airflow and consistent results. Dual fan system helps prevent flavour transfer between foods.
FoodSaver Vacuum Sealer (AUD $90-$180) — Essential for long-term storage. Prevents moisture re-absorption and dramatically extends shelf life of dried goods.
Silicon Dehydrator Mat Liners (AUD $15-$25) — Non-stick surface for sticky fruits like apricots and figs. Reusable and easy to clean.
O2 Absorbers (pack of 50, AUD $10-$15) — Small sachets that absorb residual oxygen in sealed containers. Essential for dry goods storage alongside vacuum sealing or in jars.
Conclusion
Drying food is a standard survival skill for an off-grid property in Tasmania, but my recent attempt to dry tomatoes on our twelve acres proved that theory often crashes against reality. I built a simple solar drying rack hoping to convert the glut of summer harvest into shelf-stable provisions and cut our reliance on the supermarket, but the humidity here destroyed the crop. I wasted weeks waiting for the tomatoes to shrivel only to find them rotting in the damp Tasmanian air.
Failed Netting And Dried Goods
The actual cost of the failed attempt came to $45 for netting and $12 for the wooden frame, plus the labour of raking wet pulp from the ground. A well-stocked dry goods shelf remains a quiet achievement of self-sufficiency, but my pantry now holds only the dried apples and herbs that actually survived the weather.
Worth a watch: How To Build A 100% SOLAR Food Dehydrator. Simple Off Grid Food Preservation - No Electricity. · Shawn Woods
Frequently asked questions
Can you actually sun-dry food in Tasmania?
Honestly, it's a struggle on its own. Tassie's cool summers, high humidity and unpredictable weather mean a lot of sun-drying attempts end up mouldy before the food's properly dry. I lost plenty of produce before I sorted a better setup on my place.
What's the cheapest way to start drying food off-grid?
I started with a $45 setup and it was a waste of money in our climate. The $150 fix I landed on has paid for itself many times over since. Don't repeat my mistake chasing the bargain — spend a bit more upfront and you'll actually end up with food in the pantry.
What foods are worth drying on a small property?
Anything you grow in surplus — apples, tomatoes, herbs, beans, you name it. If I can't eat it fresh, it gets dried, fermented or it goes to the chooks. That's been my rule on the 12 acres and it keeps the waste down.
Do I need an electrician to set up a food dehydrator off-grid?
For a basic passive solar dryer, no — you can knock one together yourself with a bit of mesh and framing. But if you're wiring in a powered dehydrator to your solar and battery setup, get a sparky in to check it. Not worth the risk of a fire or frying your system for the sake of a callout fee.
Disclosure: some links in this article are affiliate links. If you buy through them we may earn a small commission at no extra cost to you.