
By Sarah Chen · environmental engineer · water, waste and everything that flows downhill
“After wasting three expensive UV bulbs in one year, I learned that replacing them every eight months is the only way to keep our off-grid water safe.”
By Sarah Chen · environmental engineer · water, waste and everything that flows downhill
“After wasting three expensive UV bulbs in one year, I learned that replacing them every eight months is the only way to keep our off-grid water safe.”
A UV steriliser is one of the quietest workhorses on an off-grid property — it sits in line, kills 99.9% of water-borne bacteria and viruses including Giardia and Cryptosporidium, and asks for almost nothing in return except a working bulb and a clean quartz sleeve. The catch is that "working" is not something you can judge by eye. By the time you notice anything has gone wrong, you've probably been running compromised disinfection for months.
This guide covers the replacement interval, the signs a bulb is past its service life, the step-by-step swap on a typical whole-house UV water system, and the safety rules that apply whether you're on rainwater, bore water, or a bore-fed spa.
UV disinfection uses ultraviolet germicidal irradiation (UVGI) at a wavelength around 254 nm. The UV-C light penetrates the cell walls of microorganisms and scrambles their DNA so they cannot reproduce. UV light breaks chemical bonds in the DNA and RNA of microorganisms, preventing algae, bacteria, viruses, cysts, and protozoa from reproducing.
Two consequences follow from this that catch people out:
1. The water must be clear enough for the UV-C to reach the organisms. Dissolved iron, tannins, and any cloudiness absorb the light before it does its job.
2. The dose depends on both lamp intensity and exposure time, which is why flow rate matters as much as bulb condition.
UV sterilisation has been used to purify drinking water and public swimming pools for nearly 60 years, and it is mandatory on some public swimming pools.
A UV lamp that still glows is not necessarily a UV lamp that's still killing things. Two failure modes happen at once inside the tube:
That is why UV water systems specify replacement in operating hours, not in "did it glow last Tuesday."
| Application | Bulb replacement interval | Notes |
|---|---|---|
| Whole-house UV water steriliser | 9,000 hours of continuous use, equivalent to about 12 months | Standard interval across most residential systems. |
| Spa UV lamp (factory settings) | Every 12 to 18 months | |
| Spa UV lamp (factory settings adjusted) | Every 12 months | If factory settings on a spa's UV function are adjusted, the lamp may not last as long. |
| Aquarium UV steriliser | 9 to 12 months of continuous use | UV sterilizers should not be used when first cycling an aquarium because they can kill beneficial bacteria before they attach to bio-media or gravel. |
In my experience these systems are forgiving about a few weeks of overrun, but not forgiving about double the service life. Plan the replacement for the same month every year and put it on the fridge calendar.
The single biggest off-grid UV fault I see is not a dead bulb. It's a clean bulb behind a filthy quartz sleeve. Minerals or iron in well water bake onto the quartz sleeve, creating a cloudy barrier that blocks UV-C light from reaching the water.
You can swap the most expensive lamp on the market and still get poor disinfection if the sleeve is scaled up. Treat the sleeve and the lamp as a paired service item.
Quartz sleeve cleaning interval (whole-house UV): every 6 months as a default; more often if your bore water carries visible iron or hardness. Aquarium UV sterilizer quartz sleeves should be cleaned at least every six months.
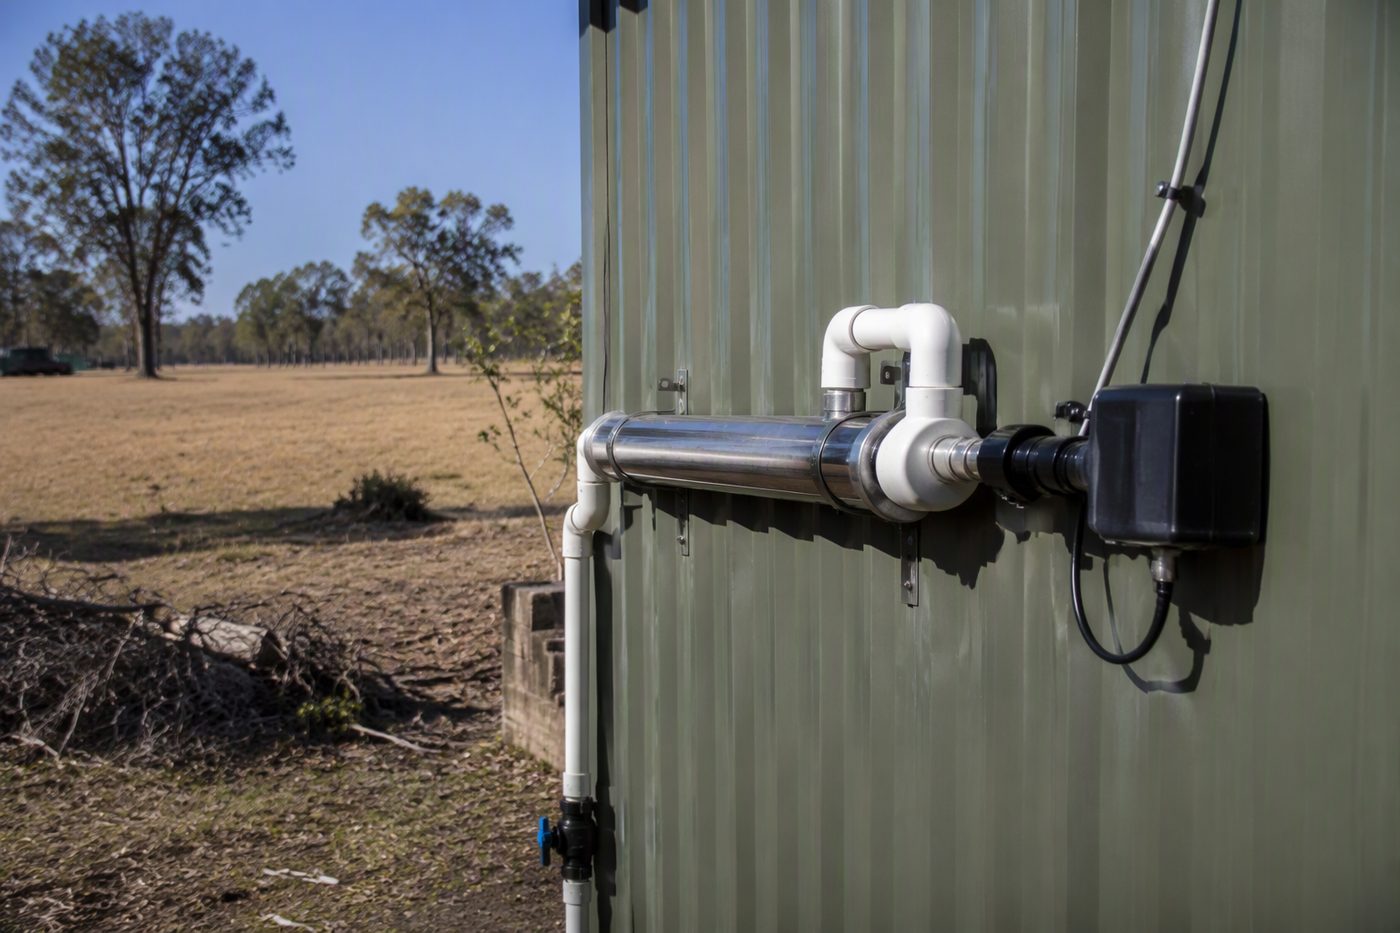
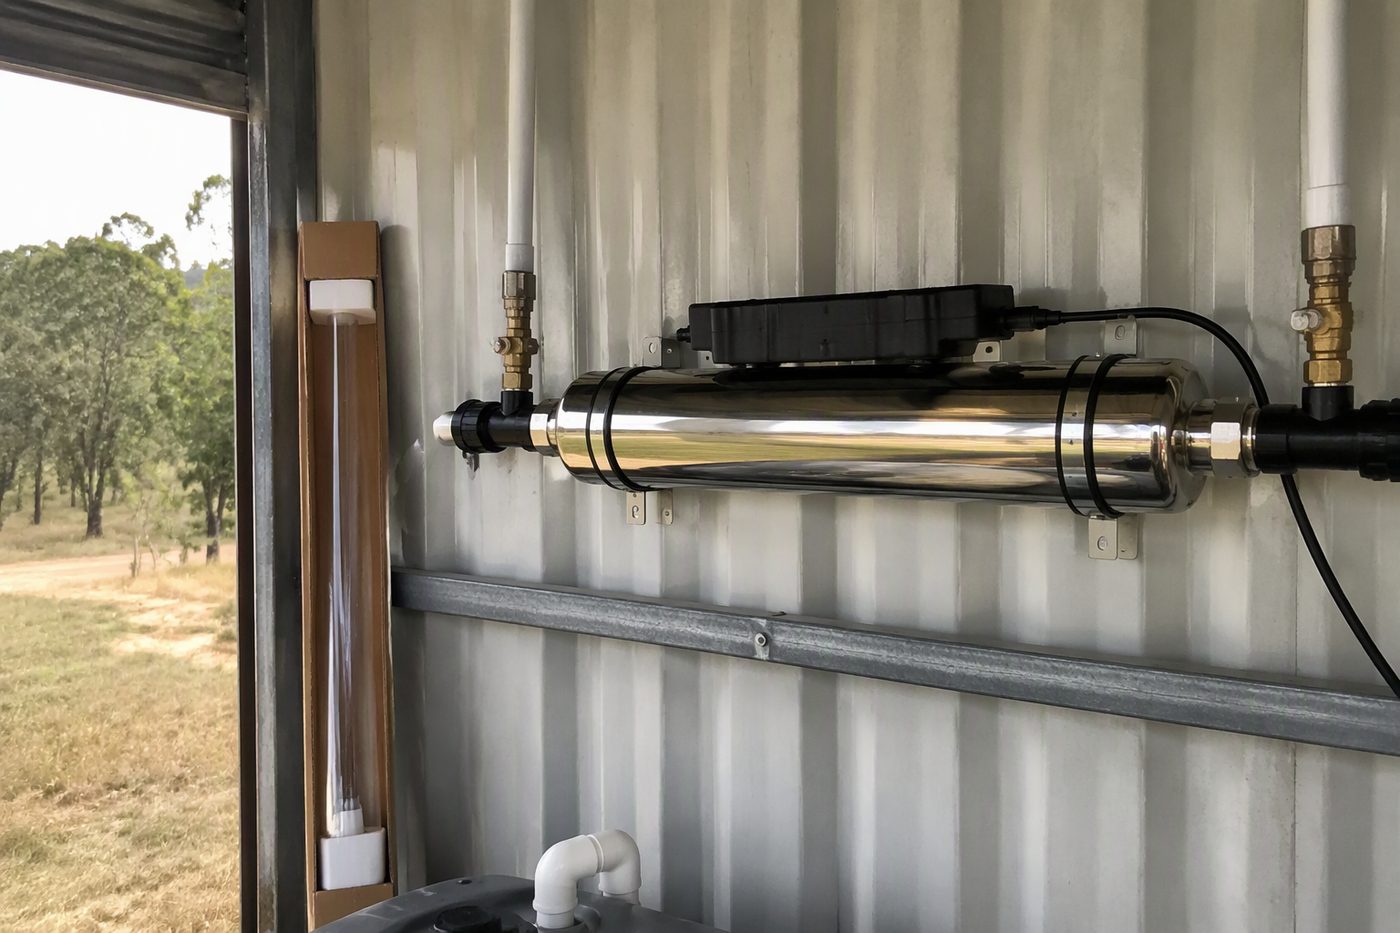
Most residential controllers have either a countdown timer or a "replace lamp" alarm. Set your own reminder regardless — the alarm only fires after the lamp has already been running past its rated life.
Spa systems usually give you a more obvious hint. Many spas indicate UV lamp failure with a shrill whistling sound from under the spa cabinet, generated by a small internal alarm. On Jacuzzi ClearRay systems the status lights are: Green & Red ON = normal operation; Green & Red OFF = unit is off; Green ON & Red OFF = bulb is burnt out and needs replacement.
Benchtop units like the Tommee Tippee Ultra UV 3-in-1 Steriliser use a small UV lamp inside a sealed chamber. The Tommee Tippee UV lamp bulb is hot after sterilisation and should not be touched. Replacement is generally a service item rather than a user item — refer to the unit's manual for the lamp part number and check the manufacturer's cycle counter.
The exact steps vary between manufacturers (Trojan, Viqua, Puretec, Rinnai-branded units all use slightly different lamp form factors), but the sequence below covers the common case for a 230V/50Hz Australian residential system.
1. Isolate the system. Close the inlet and outlet isolation valves (or the single bypass valve if fitted). Relieve pressure by opening a downstream tap.
2. Isolate the power. Switch off at the controller and at the breaker. UV-C is hazardous to skin and eyes. Do not rely on door interlocks alone.
3. Drain the chamber. Place a tray under the unit and drain through the drain port. UV-C lamps and quartz sleeves break easily if handled while full.
4. Remove the lamp. Unplug the lamp connector, then carefully withdraw the lamp straight out. Wear gloves. Hold it by the ceramic ends.
5. Remove and clean the quartz sleeve. Unscrew the retaining nut and slide the sleeve out. Inspect for crazing, chips, or cloudiness; replace if damaged. Clean with a citric-acid solution, rinse with clean water, and dry with a lint-free cloth. Do not use abrasive pads.
6. Fit the new lamp. Wearing gloves, slide the new lamp into the sleeve, reconnect the lamp plug, and refit any retaining clips.
7. Reassemble and repressurise. Refit the end caps, close the drain, slowly open the isolation valves to avoid water hammer, and check for leaks.
8. Restore power and reset the timer. Most controllers have a lamp-life countdown — reset it to zero or to the manufacturer's full-life value per the manual. Run a tap for a minute to flush any dislodged debris.
9. Log the date. Write the replacement date on the unit in marker, and put the next due date in your phone.
Spa UV lamps sit inside a housing plumbed into the spa's circulation line, usually under the cabinet.
1. Power the spa down at the isolator.
2. Open the cabinet and locate the UV housing.
3. Unplug the lamp connector at the top of the housing.
4. Unscrew the retaining nut and withdraw the lamp. Wear gloves.
5. Insert the new lamp, refit the nut, reconnect the plug.
6. Restore power and reset the controller's UV countdown if fitted. On ClearRay units, confirm the status lights return to Green & Red ON.
The Tommee Tippee Ultra UV Steriliser Dry Only mode offers 30, 40, or 50 minute cycles selected by pressing once, twice, or three times; the Sterilise Only mode runs 35 minutes (one press) or 45 minutes (two presses); and the Auto Mode runs 25 minutes of drying followed by 35 minutes of combined sterilising and drying, totalling 60 minutes. These cycle times are useful as a sanity check that a benchtop unit is actually completing cycles and not silently failing mid-run.
UV water systems sit between your roof water or bore and your tap. When something goes wrong beyond a routine lamp swap, the consequences range from cloudy drinking water to a flooded plant room. Call a licensed plumber or electrician when:
UV-C radiation can cause serious eye damage and skin burns in seconds. Never look at an operating lamp directly, and never run a lamp outside its housing. If a lamp has broken inside the chamber, ventilate the room, avoid inhaling dust, and dispose of the lamp as mercury waste per your local council's rules.
By the operating-hour counter on the controller, not by the colour of the glow. Whole-house UV bulbs are rated for about 12 months (9,000 hours) of continuous use; spa bulbs 12 to 18 months under factory settings.
No. A UV lamp can lose up to 40% of its germicidal effectiveness while still appearing bright and healthy to the eye. Use the calendar, not your eyes.
Yes. The sleeve can scale up invisibly. Clean it at least every six months, or sooner if you're on iron-bearing bore water.
Don't. Oils from skin can damage UV bulbs and shorten life. Wear nitrile or cotton gloves, or hold the lamp by the ceramic end caps only.
No. UV only treats microorganisms. For tannin, iron, hardness, or taste issues you still need appropriate pre- or post-filtration.
No. UV sterilizers should not be used when first cycling an aquarium because they can kill beneficial bacteria before they attach to bio-media or gravel. Run the UV only after the biofilter is established.
Worth a watch: How to Install a UV Guard Ultraviolet Light System · My Water Filter