
Living off-grid at Beecher, Central Queensland, means accepting a fundamental shift in responsibility. With an off-grid solar system, you are entirely independent of the grid and 100% responsible for your power needs. There is no backup generator humming in the background unless you install one, and there is no utility bill to hide behind. The system must be carefully sized to meet all energy needs because there is no backup power source when solar production is low.
For a container home, this independence is both the goal and the constraint. The metal structure offers excellent thermal mass and security, but it also presents specific challenges for solar installation: grounding, shading, and the need for a power system that is compact, efficient, and modular. This guide outlines the technical requirements for installing a reliable solar power system in a container home context, focusing on verified components and safety protocols.
Core System Architecture
The four main components of an off-grid solar system are solar panels, batteries, a solar charge controller, and a power inverter. Understanding how these interact is critical before purchasing any equipment.
1. Solar Panels: These convert sunlight into DC (direct current) power. In a container home, roof space is limited. You must choose panels that fit your footprint without compromising structural integrity.
2. Batteries: Off-grid solar systems use deep cycle batteries, which are designed to be discharged and recharged gradually. These store the energy generated by the panels for use when the sun is not shining.
3. Solar Charge Controller: This device regulates the flow of electricity from the solar panel to the battery to avoid overcharging. It is the brain of the DC side of the system.
4. Power Inverter: This converts stored DC power to AC power for use in standard appliances. In Australia, this means converting to 230V/50Hz.
A critical technical note: Components should be picked that are specifically rated for off-grid use, because most grid-tie inverters are not configured to connect to a battery bank. Do not attempt to use a standard grid-tied inverter for an off-grid application unless it is explicitly a hybrid or off-grid model.
Sizing and Component Selection
Sizing an off-grid system is a mathematical exercise, not a guessing game. You must calculate your daily energy consumption in kilowatt-hours (kWh) and match it to your battery capacity and solar array size.
Solar Panel Selection
In my experience, the physical dimensions of the panels are often as important as their wattage for container homes. 60-cell and 120-cell solar panels are about 3.5 feet by 5.5 feet (approximately 1.07 m x 1.68 m), while 72-cell and 144-cell solar panels are about 3.5 feet by 6.5 feet (approximately 1.07 m x 1.98 m).
Monocrystalline solar panels are slightly more efficient than polycrystalline panels because they are cut from a single section of silicon. This efficiency is crucial when roof space is constrained. However, note that the difference in real-world power output is primarily a function of space requirements rather than a massive disparity in performance under identical conditions.
Modern MPPT (Maximum Power Point Tracking) charge controllers allow standard 60/120 or 72/144 cell solar panels to be used in off-grid applications. This flexibility means you are not forced into using low-voltage panels that would require thicker cables and higher currents, which is advantageous for the limited wiring space in a container.
Battery Storage
Battery capacity is the buffer that keeps the lights on during the night and on cloudy days. The choice of chemistry is vital for longevity and safety. While lead-acid batteries are cheaper upfront, lithium iron phosphate (LiFePO4) batteries are increasingly the standard for off-grid builds due to their depth of discharge and cycle life.
A practical example of a well-sized system comes from the Tiny Shiny Home build. They constructed a 3kW, 5kWh, 120V off-grid solar system using 12 solar panels (250W each, wired 6S2P), SOK LiFePO4 rack batteries, a 3,000W Victron Quattro inverter, and a Victron Cerbo GX for remote monitoring. This configuration demonstrates a balanced approach: the solar array is sized to recharge the battery bank within a reasonable timeframe, and the inverter is rated to handle the peak loads of the home.
Inverter and Charge Controller
The inverter must be rated to handle your highest simultaneous load. If you plan to run an induction cooktop, a heat pump, and a water pump simultaneously, your inverter must be sized accordingly. The Victron Quattro inverter mentioned in the Tiny Shiny Home example is a pure sine wave inverter, which is essential for sensitive electronics and motor-driven appliances.
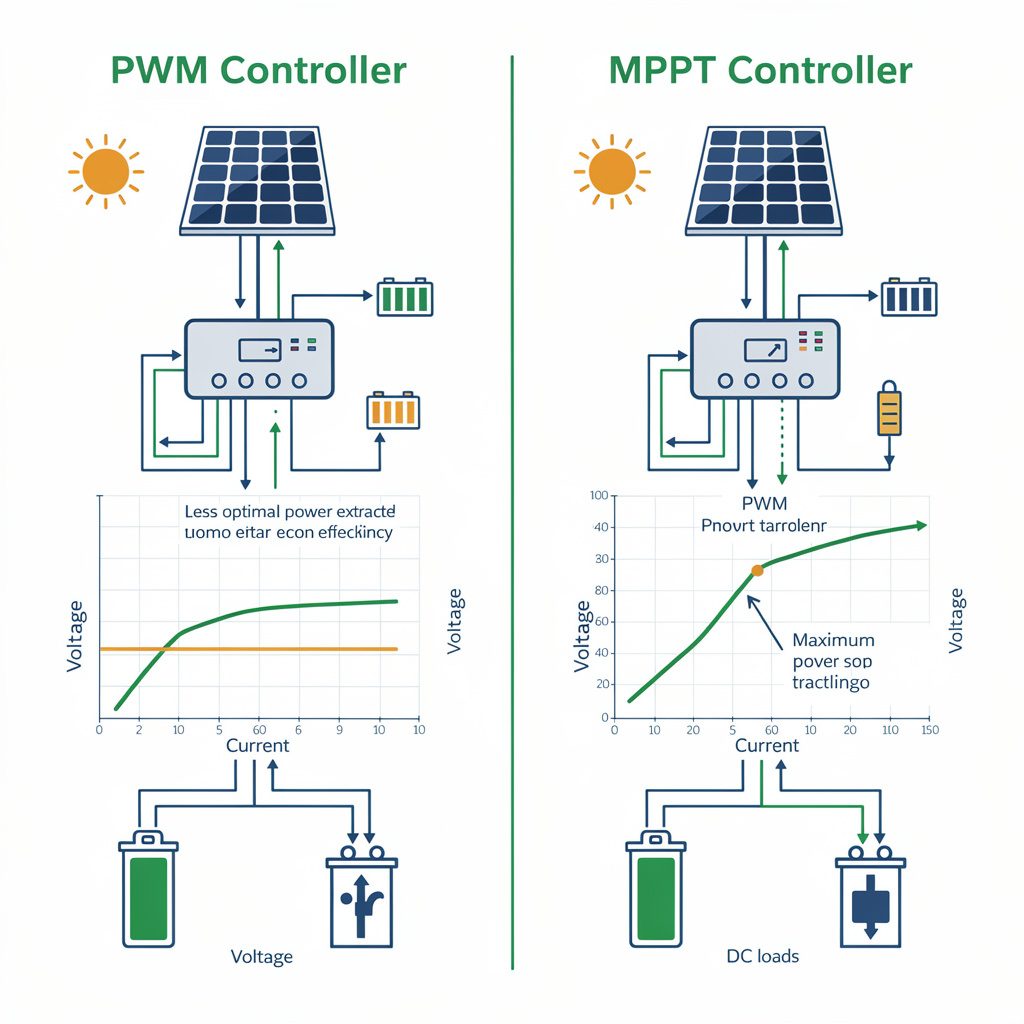
The charge controller must be sized to handle the maximum current output of the solar array. An MPPT controller is preferred over a PWM (Pulse Width Modulation) controller because it can extract more power from the panels, especially in variable weather conditions common in Central Queensland.
Installation Considerations for Container Homes
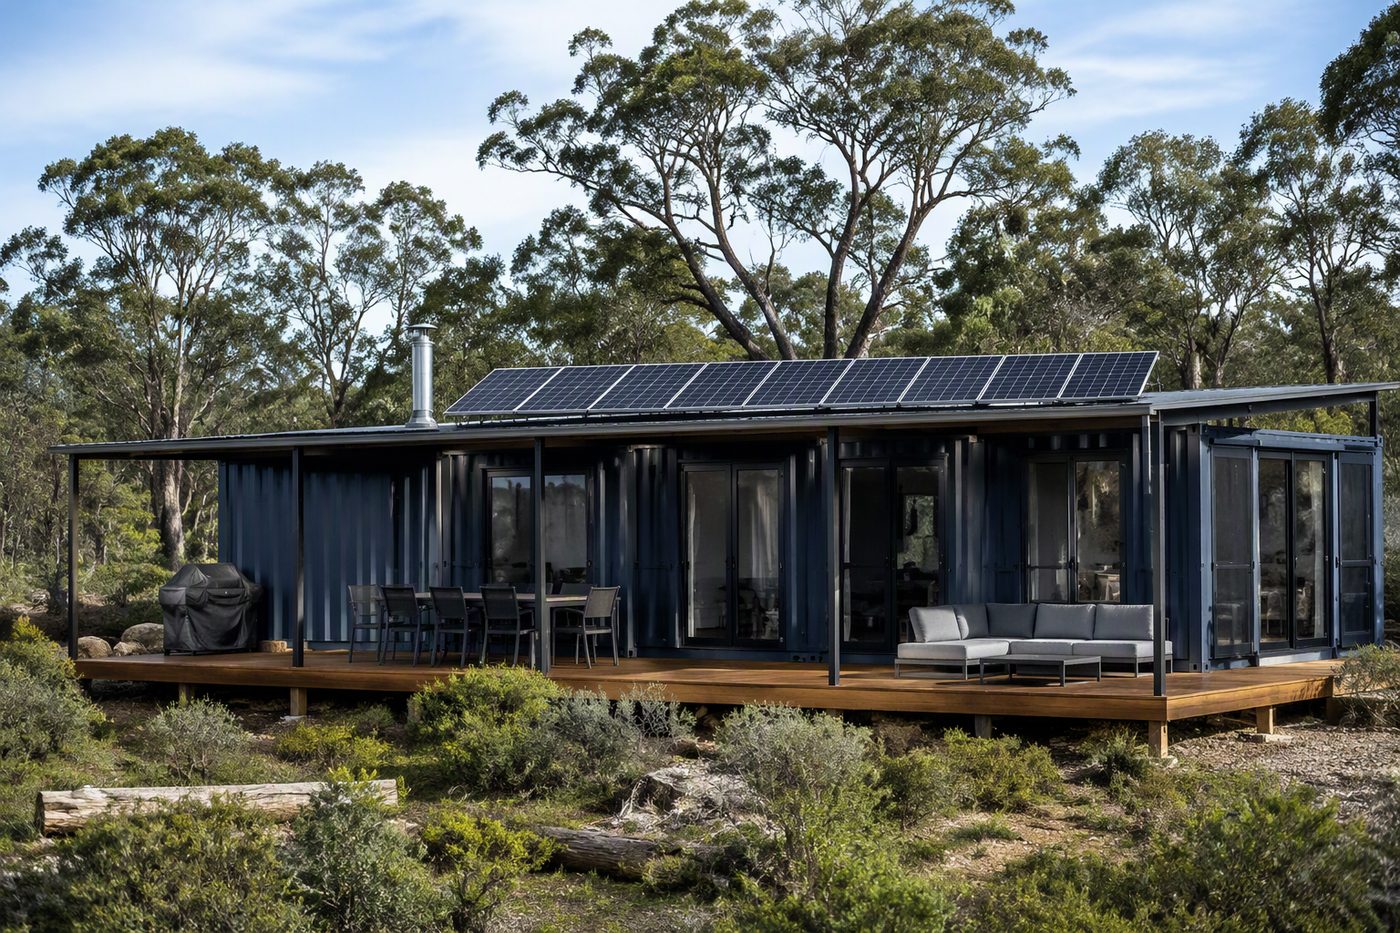
Installing solar on a steel container presents unique challenges compared to a timber-frame house.
Structural Load and Mounting
The roof of a container is not designed to carry the weight of a solar array and its mounting hardware. You must consult with a structural engineer to determine the safe load limit. In many cases, this means using a lightweight mounting system or reinforcing the roof structure before installation.
Grounding and Bonding
Off-grid solar systems must be properly grounded during installation. This is not optional. A container is a large metal object, and any fault in the solar system can turn the entire structure into a live conductor. Proper grounding involves bonding the solar array, the inverter, and the battery bank to a common ground point, which is then connected to a ground rod or plate.
In my experience, the most common mistake in container home solar installs is inadequate bonding. Every metal part of the system, from the panel frames to the conduit, must be bonded to the main ground. This prevents voltage differentials that can cause shocks or damage to equipment.
Wiring and Connectors
Wiring in a container home must be done with care. The metal walls can act as a heat sink, but they can also cause chafing if cables are not properly routed and protected. Use conduit for all exposed wiring, and ensure that all connections are made with proper connectors.
Proper connector crimping and sealing is critical. A loose or unsealed connector is a fire hazard and a point of failure. Use marine-grade connectors for any connections that may be exposed to moisture, and ensure that all crimps are made with the correct tool for the wire gauge.
Shading and Orientation
In Central Queensland, the sun is high in the sky for much of the year. However, shading from nearby trees, other structures, or even the container’s own overhangs can significantly reduce output. Use a solar path tool to analyze shading throughout the year. Even a small amount of shading on one panel can reduce the output of the entire string if the panels are wired in series.
Safety and Professional Involvement
While the concept of off-grid solar is straightforward, the execution requires technical skill and adherence to safety standards.
When to Call a Licensed Professional
All electrical work should be performed by qualified individuals according to local electrical codes. In Australia, this means that any work connected to the mains supply, or any work that could affect the safety of the electrical system, must be done by a licensed electrician.
Even though your system is off-grid, you are still dealing with high currents and voltages. A short circuit in a battery bank can cause a fire that is difficult to extinguish. A fault in the inverter can damage expensive electronics. A grounding fault can turn the container into a live wire.
You should call a licensed professional for:
- Final Inspection and Certification: To ensure the system meets Australian Standards (AS/NZS 3000).
- Grounding and Bonding: To ensure the entire system is safely grounded.
- Inverter Installation: To ensure the inverter is correctly connected to the battery bank and the AC load center.
- Any Work Involving Mains Voltage: If you have a backup generator or any connection to the grid, this work must be done by a licensed electrician.
Personal Safety
Always wear appropriate personal protective equipment (PPE) when working on solar systems. This includes insulated gloves, safety glasses, and non-conductive footwear. Never work on a live system. Disconnect the solar array from the charge controller and the battery bank from the inverter before performing any work.
Maintenance and Monitoring
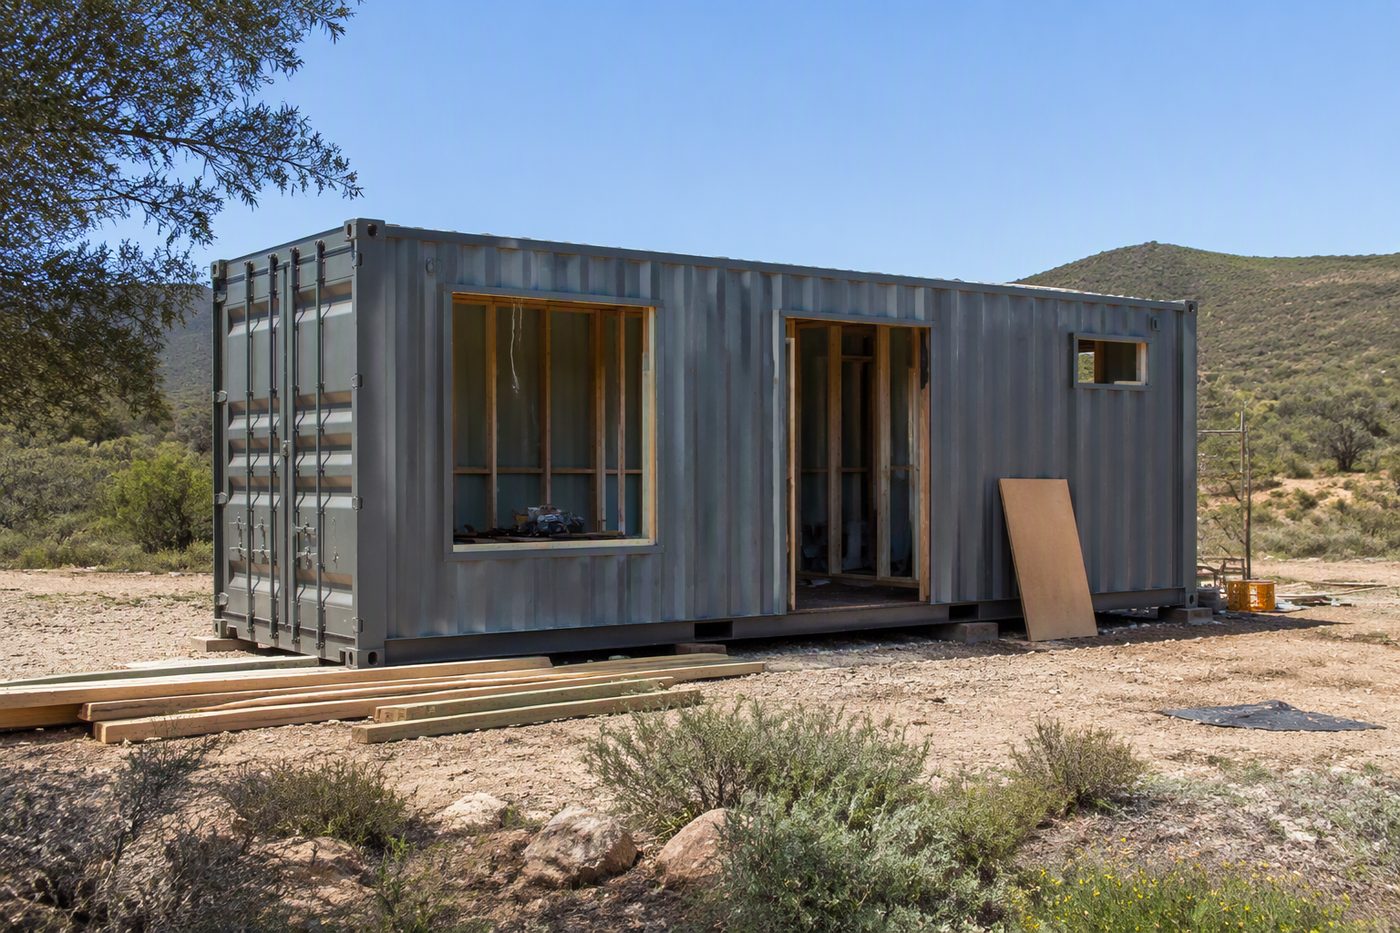
An off-grid system is not a "set and forget" installation. Regular maintenance is required to ensure reliability.
- Panel Cleaning: Dust and bird droppings can reduce output. Clean the panels regularly, especially after dust storms common in Central Queensland.
- Battery Health: Monitor the state of charge and voltage of each battery cell. Imbalances can reduce the life of the battery bank.
- Connector Inspection: Check all connectors for corrosion or looseness. Re-torque terminals as needed.
- Inverter Logs: Review the inverter logs for any faults or warnings. The Victron Cerbo GX, for example, provides detailed monitoring and alerts.
FAQ
Q: Can I use a grid-tied inverter for an off-grid system?
A: No. Components should be picked that are specifically rated for off-grid use, because most grid-tie inverters are not configured to connect to a battery bank. Use a pure sine wave off-grid inverter.
Q: How many solar panels do I need for a container home?
A: This depends on your energy consumption. A 3kW system, as used in the Tiny Shiny Home example, is a good starting point for a small container home with moderate loads. Calculate your daily kWh usage and size your array accordingly.
Q: What is the best battery chemistry for off-grid solar?
A: Lithium iron phosphate (LiFePO4) batteries are generally preferred for their longevity, depth of discharge, and safety. Lead-acid batteries are cheaper but require more maintenance and have a shorter lifespan.
Q: Do I need a structural engineer for a container home solar install?
A: Yes. The roof of a container is not designed to carry the weight of a solar array. A structural engineer must assess the load limit and recommend any necessary reinforcements.
Q: How do I ground a solar system on a metal container?
A: Off-grid solar systems must be properly grounded during installation. Bond all metal parts of the system to a common ground point, which is then connected to a ground rod or plate. This work should be done by a licensed electrician.
Q: Can I install the system myself?
A: While you can install many components yourself, all electrical work should be performed by qualified individuals according to local electrical codes. Final inspection and certification must be done by a licensed professional.
Sources
- https://www.gogreensolar.com/pages/off-grid-solar-system-design-installation-guide
- https://outboundpower.com/blogs/news/the-ultimate-guide-to-building-an-off-grid-solar-power-system
- https://tinyshinyhome.com/simple-diy-solar-system
Worth a watch: Off-Grid Solar Made SIMPLE: Container Home Power System Install · Tiny Shiny Home
Frequently asked questions
Can you mount solar panels on a shipping container roof?
You can, but only if the container's been engineered to handle the extra wind and point loads — most standard ones haven't. That's why I usually go a separate ground or frame mount instead, which also avoids any penetrations through the roof. Bit more hardware, a lot less grief later on.
What Australian standards apply to an off-grid solar system?
The design sits under AS/NZS 4509.2, the wiring follows AS/NZS 3000, the PV array gets installed to AS/NZS 5033, and the battery bank falls under AS/NZS 5139. If your sparky or installer isn't working to those, ask why.
How do you work out what size off-grid solar system you need?
Start with a proper load audit — add up everything you'll actually run, not just what's on the nameplate. From there you size the array against your site's winter sun hours (not summer), then match the battery and inverter/charger to that load and the days of autonomy you want. Get the audit wrong and you'll either overspend or run flat every week.
Why do off-grid batteries fail so quickly in Australia?
Heat's the usual killer. My first 12V AGM bank — four 130Ah units I paid $1,240 for — swelled and died in under eighteen months on a central QLD shed wall because I'd undersized the array and a basic PWM controller kept pushing current in even when panel voltage sagged on a 43°C afternoon. A correctly sized array and a proper MPPT controller goes a long way to stopping the same thing happening to you.