Off-Grid Battery Bank Cost: What I Actually Charge and Why
What an off-grid battery bank really costs in Australia: a sparky breaks down labour, gear, standards and the DIY mistake that cost him a roof.

By Dave Miller · off-grid sparky · 22 years wiring solar, batteries and sheds in central QLD
“After my first 100Ah AGM bloated in the Bundaberg heat, I learned that task batteries need proper ventilation or they turn into fire hazards.”
Introduction
Twenty-two years wiring solar, batteries and sheds around central Queensland has shown me how off-grid living went from a fringe idea to a serious option for anyone with a rural property. Solar panels have come down in price, while the power companies still want tens of thousands to run a line out to a remote block. More Australians are doing the maths and going their own way. Right at the heart of every off-grid solar system sits the battery bank — it stores the day's solar harvest and dishes it out when the sun isn't shining. Below is how I actually price a job, what I check before I pull a single cable, and the gear that ends up on my quote every time.
What I Check at the Battery Bank Before I Pull a Cable
Location and Ventilation
Batteries, especially lead-acid types, release hydrogen gas during charging. Your battery room or enclosure needs adequate ventilation to prevent gas accumulation — a serious explosion risk. Choose a location that is dry, sheltered, and has cross-flow ventilation. For lithium batteries like LiFePO4, ventilation is less critical but still recommended. Dedicated battery enclosures or purpose-built sheds are ideal.
Temperature Management
Battery performance and lifespan are severely impacted by temperature extremes. Australian summers can push shed temperatures above 45°C, which accelerates degradation in most battery chemistries. Insulate your battery space, consider active cooling fans, and keep batteries out of direct sun. The ideal operating temperature range for most batteries is 15–25°C. If your battery space regularly exceeds 35°C, active ventilation or even air conditioning may be necessary.
Mounting and Physical Security
Batteries are heavy. A 100Ah LiFePO4 battery can weigh 12–15kg, and a bank of four or more quickly adds up to significant mass. Mount batteries on a sturdy, level surface — timber bearers on a concrete slab work well for smaller banks. For larger installations, purpose-built battery racks or server rack enclosures provide secure, organised mounting. All batteries should be restrained to prevent movement during transport or seismic events.
Cable Sizing
Undersized cables cause voltage drop, overheating, and energy losses. Calculate cable size based on maximum current draw, cable length, and acceptable voltage drop (ideally under 2%). For most off-grid battery bank installations, 35–70mm² cable (BMM or solar cable) is common for main battery interconnects. Always use fine-strand, tinned copper cable designed for solar/battery applications — standard auto cable is not suitable.
Fusing and Protection
Every battery bank needs proper overcurrent protection. A DC fuse or circuit breaker should be installed as close as possible to the positive terminal of each battery or string. For lithium systems, a Battery Management System (BMS) provides electronic protection, but external DC fuses remain essential. Class T or NH fuses are the gold standard for battery protection. Anti-islanding protection on inverters is also mandatory in Australia under AS 4777.
Parallel vs Series Configuration
Connecting batteries in series increases voltage while keeping amp-hour capacity the same (e.g., two 12V 100Ah batteries in series = 24V 100Ah). Connecting in parallel increases capacity while maintaining voltage (e.g., two 12V 100Ah in parallel = 12V 200Ah). For most off-grid systems, a 24V or 48V bank is preferred — higher voltage means lower current for the same power, reducing cable losses and required cable thickness. Avoid mixing batteries of different ages, capacities, or chemistries in the same bank.
Getting Started
The order you do things matters. I never run a cable until the room is ready, the floor is level, and I've worked out where every battery is going to live for the next ten years.
Step 1 — Prepare the Location
Choose and prepare your battery space before batteries arrive. Ensure the floor is level, clean, and capable of supporting the weight. Install shelving, racks, or enclosures as required. Run ventilation calculations — for flooded lead-acid, you need at least 1 square inch of vent opening per 100Ah of capacity. Install any insulation, temperature management, or fire suppression systems at this stage. Mark out cable routing paths.
Step 2 — Mount the Batteries
Position each battery in its final location before making any electrical connections. Ensure adequate spacing between batteries for airflow and future maintenance. Check that all mounting hardware is secure. For wall-mounted systems, use appropriate wall anchors rated for the load.
Step 3 — Connect the Cables
Start with the interconnects between batteries, working from negative to positive. Use a torque wrench to ensure terminal bolts are tightened to manufacturer specifications — typically 8–10Nm for most battery terminals. Over-tightening damages terminals; under-tightening causes resistance and heat. Apply anti-corrosion spray or terminal protector to all exposed terminals after connection.
Step 4 — Install BMS if Required
For LiFePO4 battery packs that don't have an integrated BMS, or for custom pack configurations, install a suitable BMS now. The BMS should be wired to monitor each cell group and provide balance charging, over/under-voltage protection, over-current protection, and temperature monitoring. Follow manufacturer wiring diagrams exactly.
Step 5 — Connect to Inverter and Charge Controller
Run the main positive cable from the battery bank through the DC fuse/breaker, then to the inverter's DC input. Run the negative cable directly to the inverter (or through a shunt for monitoring). Connect the charge controller similarly, ensuring correct polarity on all connections. Install a battery monitor (shunt-based like Victron Energy SmartShunt or equivalent) to track state of charge, current, and accumulated data.
Step 6 — Commissioning
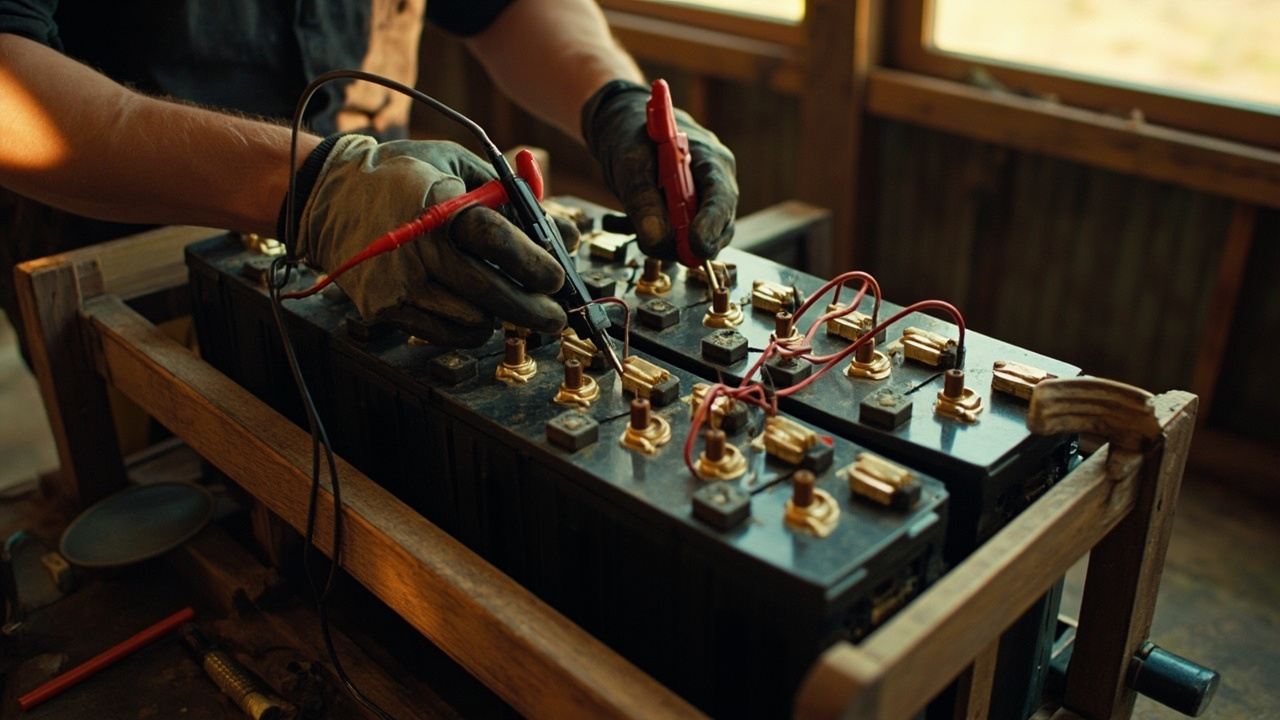
Before energising, double-check all connections with a multimeter — confirm correct polarity and no accidental shorts. Charge the batteries slowly via solar or grid power before putting the system under load. Monitor the first charge cycle closely, checking for unusual heat, gas odour (lead-acid), or BMS trip events. Calibrate the battery monitor against actual state of charge readings. Document all settings.
Costs and Considerations
Installation Labour
If using a licensed electrician, battery bank installation typically costs AUD $500–$2,000 depending on system complexity, location, and whether switchboard upgrades are needed. In some states, off-grid battery installations may require a licensed electrician and compliance with AS/NZS 3000 wiring standards. Get multiple quotes and check credentials. A well-documented DIY installation can be legally compliant in states where owner-builder work is permitted, but always check with your local authority.
Australian Standards
Relevant standards include AS/NZS 3000 (Electrical Installations), AS/NZS 4777 (Inverter/Energy Systems), and for grid-connected battery systems, your DNSP (Distribution Network Service Provider) may require notification and approval. Off-grid systems generally have more flexibility, but compliance with AS/NZS 3000 is still strongly recommended for insurance and resale reasons.
DIY Considerations
DIY battery installation is feasible for experienced handypeople, but has real limits. If you're building a high-voltage lithium system or connecting into an existing switchboard, engage a professional. The risk of electrocution, fire, or voiding equipment warranties is real. Budget for the tools you'll need: torque wrench, crimping tool, multimeter, cable lugs, and appropriate protective equipment.
The Costly Mistake of DIY
Three years back I dropped three grand on a Victron battery bank for a shed out near Emerald, reckoned I was saving a quid by doing the install myself. Three months later the BMS was fried and the cells had swollen. That wasn't just a crook bank — it was a fire risk that nearly took the roof off, a maintenance nightmare I'm still untangling, and a financial drain that wiped the profit on the whole job. Every torque, every BMS parameter, every cable run has to be right before you close the lid. Do it once, do it properly, and the bank will do its job for a decade or more.
The Gear I Wire Into Battery Banks
This is the kit that ends up on my quotes. Not affiliate links — just what I actually fit.
Solar Battery Cable (35mm², 100A rated)
Pairing with quality solar cable like Pylontech or generic 35mm² tinned copper battery cable for main bus connections and inverter cables.
Class T Fuse (200A)
Essential overcurrent protection for battery banks up to 48V. Pair with a matching fuse holder.
Busbars
Copper busbar kit for clean, professional parallel connection of multiple batteries.
Battery Terminal Protector
NCP2 or DeoxIT terminal spray — apply to all copper terminals after installation to prevent corrosion in Australian humidity.
Battery Monitor
Victron Energy SmartShunt 500A — Bluetooth monitoring, highly accurate state-of-charge tracking, integrates with the Victron app.
Battery Racks
Universal 4-battery steel rack for wall or floor mounting — adjustable to fit various battery form factors.
Conclusion
Saw a bloke up in NSW cook a Victron battery bank because he got cheap with the cabling. Skimped on the cable size, skipped the fusing. Saved himself a few hundred upfront and handed me a $3,200 repair bill later for a replacement bank and inverter. Took me about twenty minutes to trace the fault back to undersized cable and a missing fuse. He'd avoided spending the time on proper cable sizing and wouldn't fit a battery monitor either, so the system had no way of telling him anything was off. Now he sits there watching a phone app full of error codes while his place goes dark. All of it avoidable with a tape measure and a fuse.
Jobs That Require a Licensed Electrician
Working with electrical systems, structural modifications, or gas installations carries inherent risks. If you are not confident in your abilities, always engage a licensed professional. For high-voltage lithium banks, switchboard work, or anything tied back to a DNSP, the job is not a handyman weekend — it's a sparky's job.
Worth a watch: Off Grid Solar Power System Battery Bank Sizing! You MUST Do This! · Country Living Experience: A Homesteading Journey