
By Mick O'Brien · carpenter & builder · sheds-to-homes, cabins and things that stay up in a storm
“After losing the roof of my first cabin in a 120km/h gale, I learned that passive cooling must be built for the storm, not just the heat.”
Strategies to Beat the Heat Without Power - Sustainable Living in the Outback
By Mick O'Brien · carpenter & builder · sheds-to-homes, cabins and things that stay up in a storm
“After losing the roof of my first cabin in a 120km/h gale, I learned that passive cooling must be built for the storm, not just the heat.”
When the grid stops being a fallback, cooling stops being optional. In Central Queensland and similar inland zones, summer design temperatures push past 38 °C and summer nights rarely drop below 24 °C. If your cabin or homestead runs on a finite battery bank, you cannot afford to feed a reverse-cycle air conditioner for twelve hours a day. Passive cooling, done at the design stage, is the cheapest kilowatt-hour you will ever buy.
This guide covers the passive cooling principles that apply to off-grid properties across Australia: orientation, shading, cross-ventilation, thermal mass, stack-effect chimneys, and earth tubes. It also covers where active systems (absorption, desiccant, vapour-compression cooling) fit, and when to call a licensed professional.
An off-grid home operates entirely independently from mains power, reticulated water, and sewerage services. Off-grid homes are typically powered by solar, wind, and hydroelectric systems, with many also using rainwater collection and high-tech water filtering systems. The fewer kilowatt-hours you consume for cooling, the smaller the solar array and battery bank you need to install and maintain. Reducing energy demand at the design stage is the most effective way to reduce the size and cost of an off-grid solar system, and correct system sizing is the most critical factor in off-grid solar design, with undersizing being the most common and costly mistake. Passive cooling is energy demand reduction at its most permanent.
A building designed for passive cooling also keeps working during blackouts, bushfire-related grid disconnections, or extended cloudy spells when your battery state-of-charge is already marginal. In remote Australia, that resilience is the actual product.
Australia sits in the southern hemisphere. The summer sun tracks across the northern sky, and the winter sun is lower. The result: north-facing glazing is your friend, but only if you can shade it in summer.
The verified eco-home guidance is general: positioning to capitalise on seasonal sun patterns, using thermal insulation, double-glazed windows, and recycled or regionally produced materials. Translating that to a cooling-focused build in Queensland:
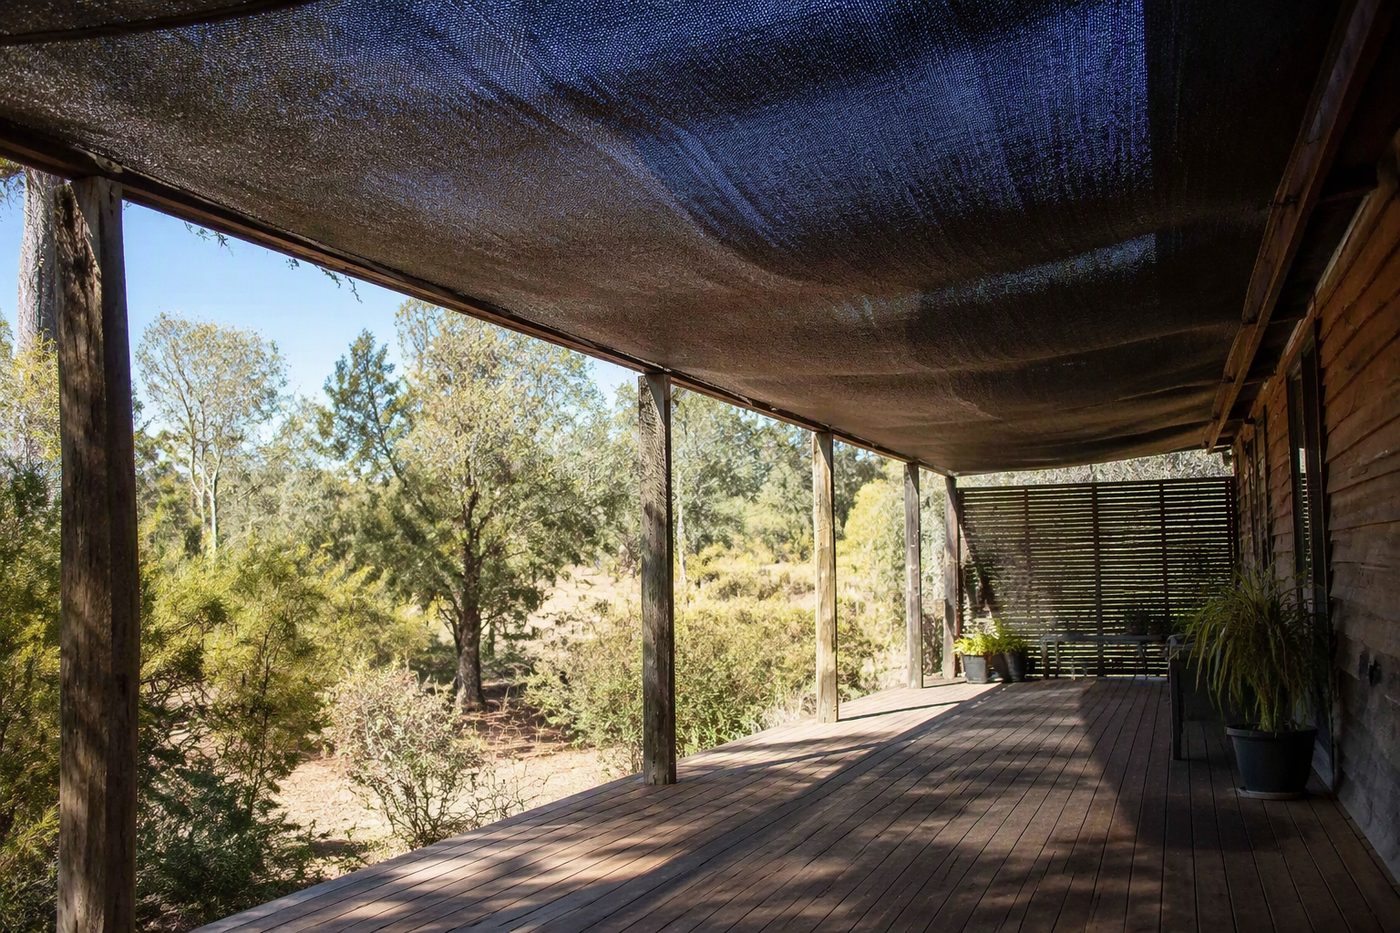
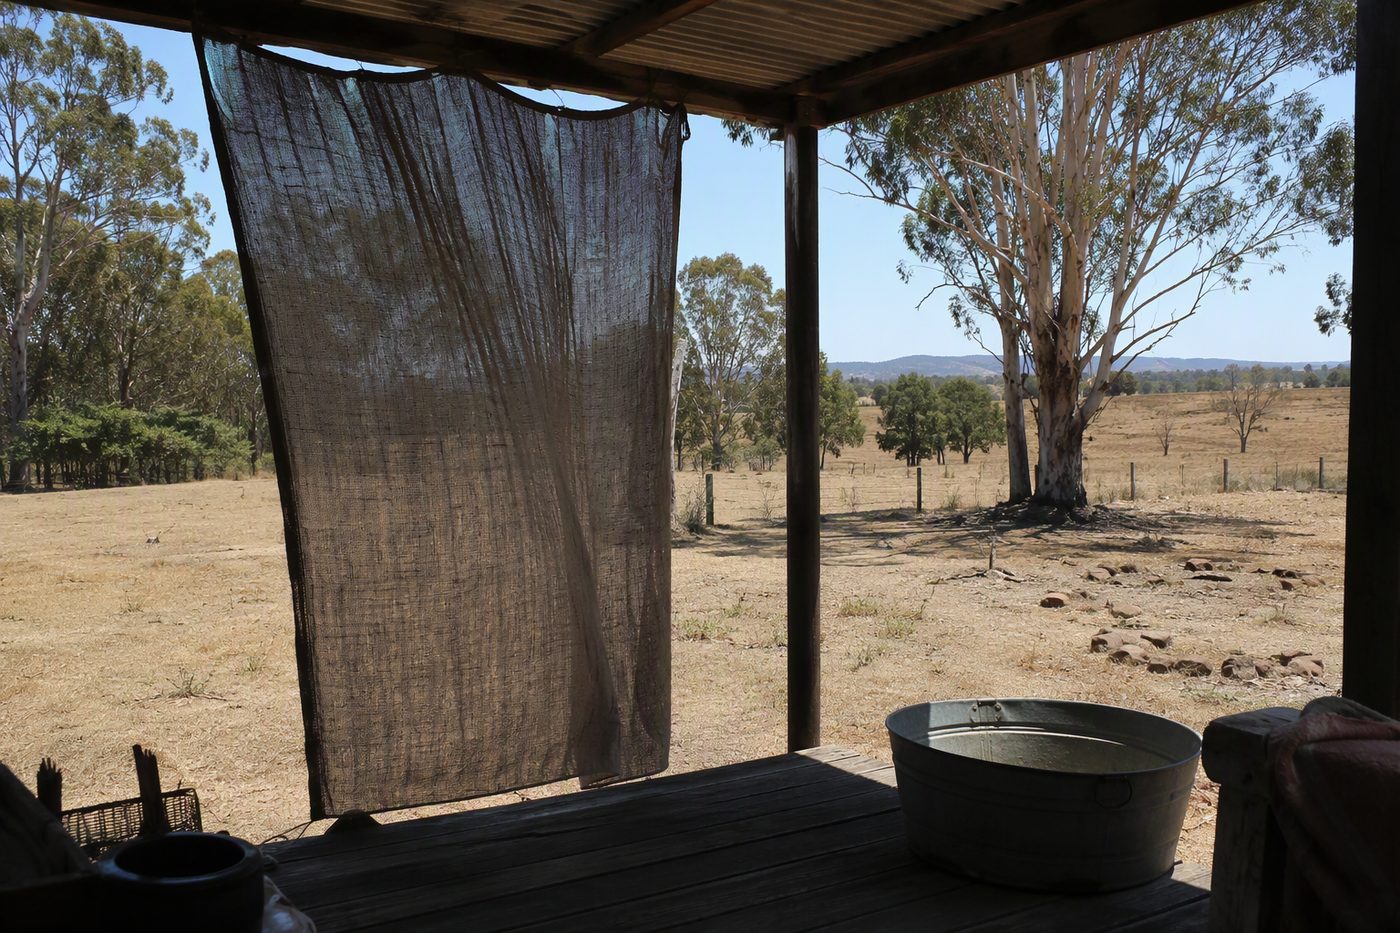
Shading is the most effective first step in passive cooling. External shading beats internal shading every time, because it stops solar radiation before it converts to heat inside the building envelope. Practical shading elements:
Always shade thermal mass from direct sun as well. A concrete slab or rammed earth wall in full sun will absorb heat all day and re-radiate it indoors after dark. The slab still works, but only when shaded.
Cross-ventilation requires opposite openings and alignment with prevailing winds. The principle is straightforward: cool air enters one side of the building, warm air exits the other, and the building purges heat through the day. In practice:
Thermal mass helps moderate temperature swings but must be shaded from direct sun. Mass absorbs heat during the day and releases it at night, flattening the indoor temperature curve. Rammed earth and concrete slabs provide thermal mass that suits Australian off-grid construction because the materials are often locally sourced.
In humid climates, thermal mass without night-purge ventilation can backfire: the mass never gets a chance to release its heat overnight because nights stay warm. In dry inland climates (much of Central Queensland), night purging combined with high mass is highly effective.
A central stairwell allows air to be drawn through a building via a solar chimney or wind catcher, with ports in internal walls enabling air to flow from rooms to the staircase. The physics is buoyancy: hot air rises. A tall, sun-heated chimney draws air up through the building, pulling cooler air in through low-level openings on the shaded side. Useful rules of thumb:
Earth tubes for passive cooling are typically 200 mm in diameter, extend up to 100 m from the building, and are buried at a depth of 1.5 m. Earth tubes work by drawing fresh air through buried pipes so the surrounding soil or water cools (or warms) the air before it enters the building. At 1.5 m depth in most Australian soils, soil temperature stays close to the annual mean — roughly 20–24 °C in Central Queensland, well below summer air temperature.
In practice:
Earth tubes do not work as a stand-alone system in deep humid heat, but they drop the cooling load significantly and can supply 100 % outside air rather than recirculated air.
Heat recovery ventilation removes heat or coolth from outgoing air and transfers it to incoming fresh air. In an off-grid context this matters because you do not want to throw away the coolth you have just paid for in fan and battery power. A typical heat recovery ventilator (HRV) transfers 60–80 % of the temperature difference between the outgoing and incoming airstreams.
In cooling season, run the HRV in "bypass" or "coolth recovery" mode so the cooled indoor air pre-cools the incoming fresh air rather than the other way around. Most units have seasonal modes for exactly this.
Passive design can take you a long way, but at some point you may need active cooling. The verified options are:
Where evaporative cooling fits: in dry climates with low wet-bulb temperature, evaporative ("swamp") coolers use a fraction of the energy of a compressor cycle. Evaporative cooling is ineffective in high-humidity areas like Cairns, where wet-bulb temperatures stay close to air temperature year-round.
| Strategy | Typical metric | Best climate fit |
|---|---|---|
| North-south long axis | Eaves ~40–50 % of window height at 23°S | All AU climates |
| Cross-ventilation openings | Opposite walls, low in + high out | Inland, coastal breezy zones |
| Thermal mass (concrete/rammed earth) | Shaded from direct sun | Dry inland |
| Earth tube diameter | 200 mm | All — better in stable soil |
| Earth tube depth | 1.5 m | All |
| Earth tube length | Up to 100 m | All |
| HRV efficiency | 60–80 % temperature transfer | Tight, well-insulated builds |
| Solar chimney | Height > building width | Low-wind sites |
Cooling does not exist in isolation. A successful off-grid home integrates solar power, battery storage, hot water systems, efficient appliances, and wastewater management into a single, cohesive design, and water heating is one of the largest energy loads in any home. The implication for cooling: the same design discipline that picks your fridge and hot-water system should pick your cooling strategy. Off-grid hot water systems commonly use solar hot water (rooftop collectors) or heat pump systems, often paired with LPG for cooking, and those choices already shape your daily energy budget. Add passive cooling first, then size the solar system for what remains.
Off-grid water and wastewater decisions must be integrated into the design phase and council approvals, not added as an afterthought. Treat your cooling strategy the same way. If you change the floor plan after the slab is poured, your north-south orientation, your chimney position, and your earth-tube run all become compromises.
1. Can passive cooling completely replace an air conditioner off-grid?
Passive homes maintain a steady internal temperature without relying on traditional heating and cooling equipment, and passive homes aim to reduce the energy used for heating and cooling by as much as 90 per cent. In practice in Central Queensland summers, expect a well-designed passive home to need only occasional active back-up during heatwaves.
2. Are earth tubes worth installing in heavy clay soil?
Yes. Soil thermal stability matters more than soil type. Heavy clay actually holds temperature well. The main installation issue is trenching through reactive clay without damaging the pipe or the slab.
3. What is the single highest-value change to an existing off-grid building?
External shading of west-facing glazing. It is the lowest cost, biggest impact change for retrofit work.
4. Is a heat pump air conditioner a passive cooling strategy?
No. A heat pump is active cooling. It is efficient by comparison with resistive heating, but it still draws meaningful power. Use it after exhausting passive options.
5. Does thermal mass help in humid climates?
Only if you can night-purge it. In humid zones where overnight temperatures stay high, unshaded mass will accumulate heat and never release it.
6. How do I size solar for an off-grid home that still wants some active cooling?
Model your expected cooling energy separately from your baseload, apply a 1.5–2× safety factor for cloudy spells, and confirm the battery bank can carry the night-time cooling load before the next solar window starts.
Worth a watch: Why didn't I loop my Earth tubes? Well, this is why. · The Off-Grid Guru
Look, a cheap shade sail might take the edge off for a season, but mine failed and the cost of replacing it ate any savings I'd made. They don't actually cool the air - they just stop the sun hitting your walls and roof. If you want real passive cooling, a shade sail is a starting point, not a solution on its own.
Mine didn't. I built one for $730 in a rural Queensland cabin and it was a practical failure - couldn't keep up with the humidity and the pump kept needing attention. They can work in genuinely dry country, but in most of coastal Queensland you're better off with cross-ventilation and thermal mass. And when the refrigeration side of things goes wrong, that's a job for a licensed hand, not a tinkerer.
Earth tubes work, but eighty metres of pipe in your own backyard is no weekend project. The deeper you bury them the more stable the ground temperature, but you've got to size the vents properly or the air doesn't move at all. I'd only commit to it if you're building from scratch and you've got machinery access sorted.
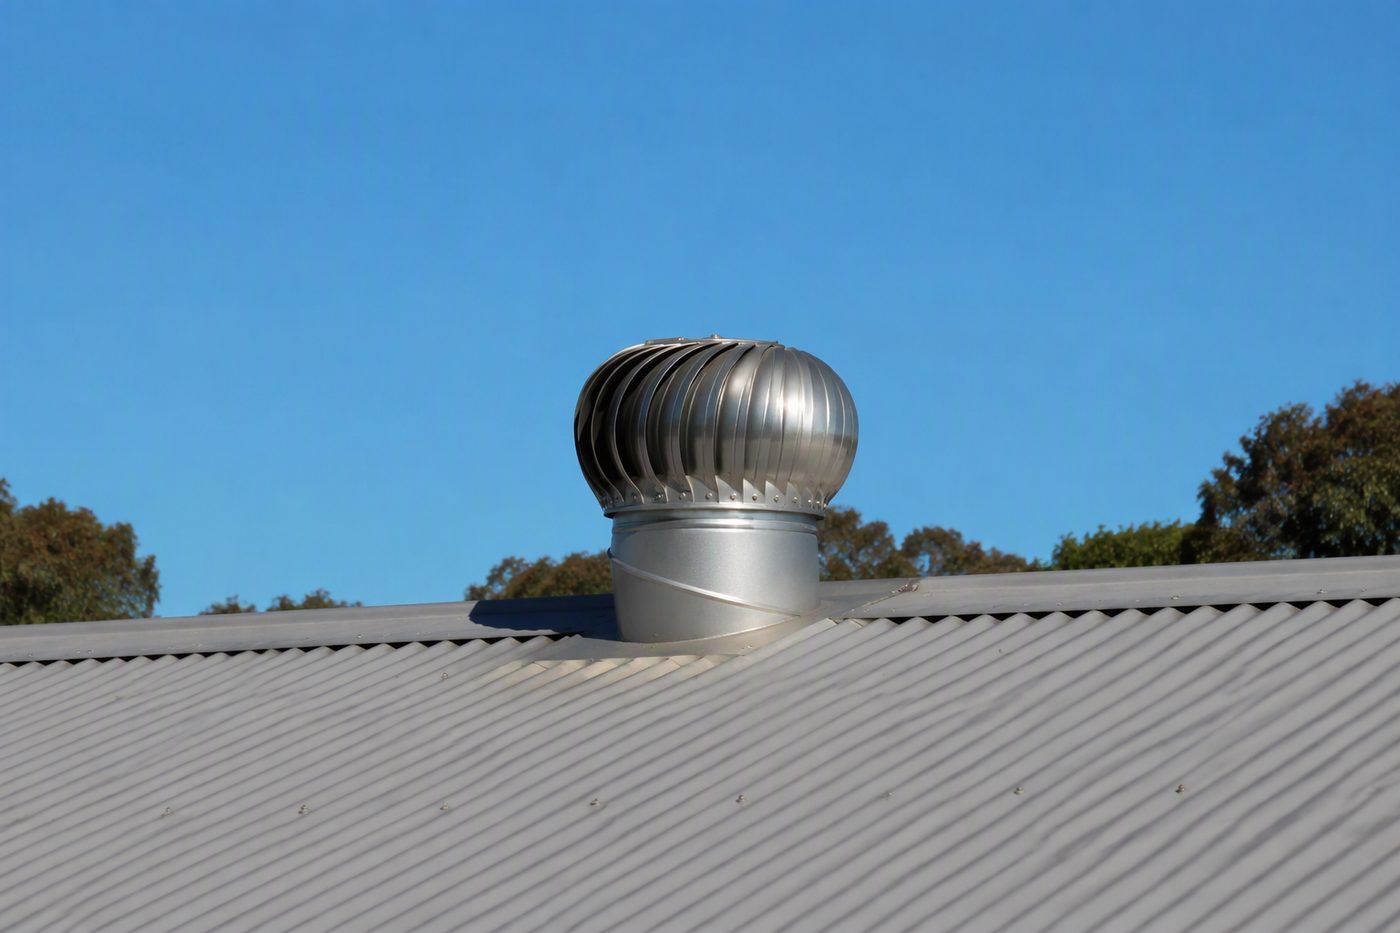
I spent over a grand and a half just on the roof vent that turned out to be a blunder, and that doesn't count the $730 evap unit or the earth tube project. What you'll really spend depends on your block, your build, and how many of my mistakes you decide to repeat. Start with the cheap wins - shade and ventilation - before you commit to anything buried or plumbed.